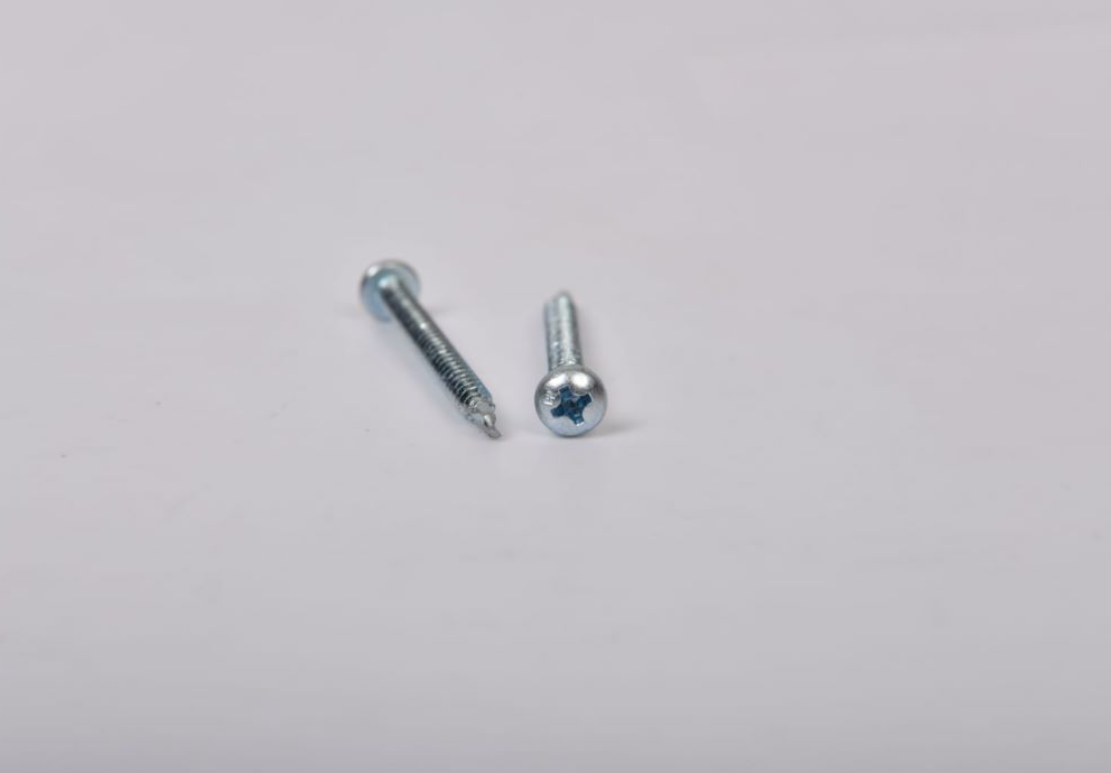
Exploring the Benefits and Features of Drywall Screw Strips for Efficient Installation
A Comprehensive Guide to Drywall Screw Strips
When it comes to drywall installation, having the right tools and materials is essential for achieving a professional finish. Among the myriad of tools available, drywall screw strips have emerged as a vital accessory that can significantly enhance efficiency and precision during the installation process. This article delves into what drywall screw strips are, their benefits, and how to effectively use them.
What are Drywall Screw Strips?
Drywall screw strips are pre-loaded strips that contain multiple screws, designed specifically for fastening drywall sheets to wood or metal studs. These strips usually come in a plastic or metal housing that keeps the screws organized and easily accessible. They are available in various lengths and screw sizes to accommodate different drywall thicknesses and construction requirements.
Benefits of Using Drywall Screw Strips
1. Time Efficiency One of the primary advantages of drywall screw strips is the significant time savings they offer. Instead of individually loading screws into a drill, the strips allow for quick and easy access to multiple screws at once. This is especially beneficial in larger projects where countless screws are needed.
2. Reduced Hand Fatigue Using a drywall screw strip minimizes the repetitive motion of loading screws manually. This can greatly reduce hand fatigue and strain, allowing installers to work longer and more comfortably, especially during extensive installations.
3. Consistent Depth Control Many drywall screw strips come equipped with a depth control feature that ensures screws are driven to the correct depth consistently. This helps prevent damage to the drywall while ensuring a secure fit for the screws.
4. Improved Accuracy With screws pre-aligned in the strip, installers can achieve a higher level of accuracy when placing screws. This reduces the risk of misalignment and the need for adjustments later in the installation process.
drywall screw strips

How to Use Drywall Screw Strips
Using drywall screw strips is a straightforward process
1. Select the Right Strip Before you begin, choose the appropriate screw strip for your drywall thickness. Common drywall thicknesses include 1/2 inch and 5/8 inch, commonly used for interior walls and ceilings.
2. Load the Strip If you're using a drywall screw gun, simply insert the screw strip into the tool. Ensure it is secured properly according to the manufacturer’s instructions to avoid any jams or misfires.
3. Position the Drywall With the drywall in place, position the screw gun perpendicular to the drywall surface. This ensures that the screws are driven in straight and at the correct angle.
4. Drive the Screws Start driving the screws by applying steady pressure on the screw gun. The depth control will help maintain consistent placement. Continue until all screws in the strip are used, then proceed to the next strip if needed.
5. Inspection Once all screws have been installed, inspect the surface for any screw heads that may have been driven too deep or are protruding. Adjust as necessary by either backing the screws out slightly or driving them in further.
Conclusion
Drywall screw strips are an invaluable tool for both professional contractors and DIY enthusiasts. Their ability to save time, reduce fatigue, ensure consistency, and improve accuracy makes them a smart choice for any drywall project. Whether you're embarking on a small home renovation or a large commercial installation, integrating screw strips into your workflow is a decision that will undoubtedly enhance your productivity and the quality of your finished work. Embrace this simple yet effective tool, and watch how it transforms your drywall installation process.
-
Top Choices for Plasterboard FixingNewsDec.26,2024
-
The Versatility of Specialty WashersNewsDec.26,2024
-
Secure Your ProjectsNewsDec.26,2024
-
Essential Screws for Chipboard Flooring ProjectsNewsDec.26,2024
-
Choosing the Right Drywall ScrewsNewsDec.26,2024
-
Black Phosphate Screws for Superior PerformanceNewsDec.26,2024
-
The Versatile Choice of Nylon Flat Washers for Your NeedsNewsDec.18,2024


