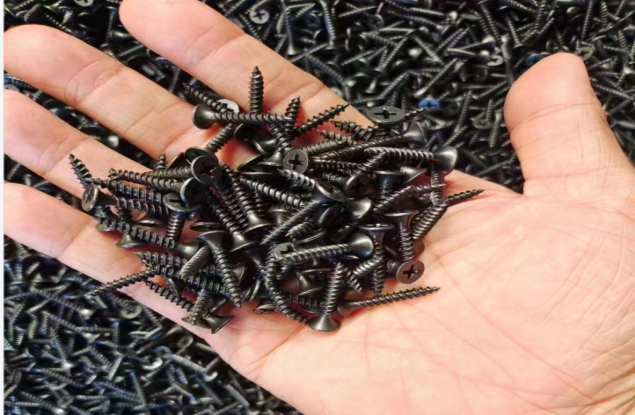
best fix drywall hole for screw
Best Fix for Drywall Holes Caused by Screws
Drywall is a common construction material used in homes and offices for interior walls and ceilings. While it provides a smooth and aesthetically pleasing finish, drywall can often become damaged, especially when screws are improperly installed or removed. Holes left by screws can be unsightly and may lead to more significant damage if not addressed promptly. Fortunately, fixing these holes can be a straightforward task if you follow the right steps.
Assessing the Damage
Before beginning the repair, it’s crucial to assess the size of the hole. Small holes, typically caused by misplaced screws, can often be fixed with minimal effort. For holes that are less than 1/4 inch in diameter, a simple approach will suffice. However, larger holes or those that have been damaged due to screw removal will require more extensive repairs.
Materials Needed
To fix drywall holes, you will need some basic materials
1. Drywall compound (joint compound) This is used to fill in the holes. 2. Putty knife A flexible blade will help in applying and smoothing the compound. 3. Sandpaper For smoothing the repaired area once dry. 4. Primer and paint To finish the repair and match the surrounding wall. 5. Patching tape (if needed) For larger holes to reinforce the area.
Step-by-Step Repair Process
1. Prepare the Area Start by clearing the area around the hole. Remove any loose pieces of drywall and clean the surface to ensure good adhesion for the compound.
best fix drywall hole for screw

2. Fill Small Holes For holes less than 1/4 inch, use a putty knife to apply a small amount of drywall compound directly into the hole. Press firmly to fill it well and smooth the surface. Overfill slightly to allow for sanding after it dries.
3. Repair Larger Holes For holes larger than 1/4 inch, it may be beneficial to use patching tape or a small piece of drywall - Cut a piece of drywall that is slightly larger than the hole, trace it on the wall, and cut along the lines to create a patch. - Secure the patch with drywall screws or adhesive. - Apply patching tape around the edges and cover everything with drywall compound, feathering out to blend with the wall.
4. Let It Dry Allow the repaired area to dry completely. This may take a few hours, depending on humidity and temperature.
5. Sand the Surface Once dry, use sandpaper to smooth out the area. The goal is to make it as flush with the surrounding wall as possible. Be gentle to avoid damaging the surrounding drywall.
6. Prime and Paint After sanding, wipe away any dust and apply a coat of primer to the repaired area. Once the primer dries, paint over it with a color that matches the existing wall.
Final Touches
Take a step back and inspect your work. A well-done repair will be nearly invisible if done correctly. If you notice any imperfections, you can always touch up with additional compound, sand, and repaint as needed.
Conclusion
Repairing drywall holes caused by screws doesn’t have to be a daunting task. With the right materials and techniques, you can restore the integrity and appearance of your walls. Regular maintenance and prompt repairs will keep your walls looking their best and can prevent more extensive damage in the future. Whether you are a seasoned DIYer or a beginner, taking the time to fix these issues can greatly enhance your space’s aesthetic and value.
-
Top Choices for Plasterboard FixingNewsDec.26,2024
-
The Versatility of Specialty WashersNewsDec.26,2024
-
Secure Your ProjectsNewsDec.26,2024
-
Essential Screws for Chipboard Flooring ProjectsNewsDec.26,2024
-
Choosing the Right Drywall ScrewsNewsDec.26,2024
-
Black Phosphate Screws for Superior PerformanceNewsDec.26,2024
-
The Versatile Choice of Nylon Flat Washers for Your NeedsNewsDec.18,2024


