


Th3 . 06, 2025 18:01
Back to list
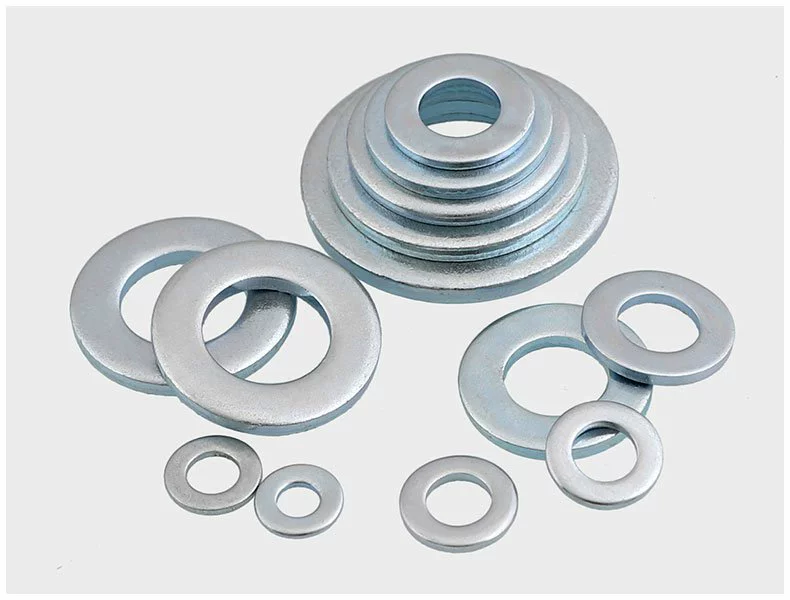
FLAT WASHER
Replacing the spring in a Roper washer may seem daunting, but with the right tools and guidance, it can be a manageable DIY project. Understanding the specific requirements of this task ensures that your washing machine functions optimally once again.
With the damaged spring removed, align the new spring into the same position. Ensure it is securely attached and mirrors the alignment of its predecessor. A correctly positioned spring is vital to restoring the machine's performance and longevity. Afterward, begin reassembling the washer by replacing the back panel. Double-check all connections and ensure the panels are firmly in place. A loose panel can lead to more noise during the machine’s operation, denying the peace and quiet that a correctly functioning washing machine can provide. Once reassembled, plug the washer back into the power source and reconnect the water supply. Perform a test run to ensure that the spring replacement was successful. Observe the washing machine through a complete cycle, paying close attention to any unusual noises or vibrations. The absence of such issues often indicates a successful spring replacement. Replacing a spring is not just about restoring functionality; it’s also an opportunity to enhance the lifespan of your appliance. Routine maintenance, such as inspecting components for wear and tear, can preempt more severe issues. In conclusion, while replacing the spring in a Roper washer requires some technical skill, it’s a manageable task that can be accomplished with patience and precision. This proactive approach not only addresses immediate concerns but also contributes to the washer’s durable and efficient operation. Regular inspections and early interventions are strategies that afford users peace of mind and extend appliance longevity. Through understanding, preparation, and careful execution, homeowners can master this repair and ensure their Roper washer serves them well for years to come.
With the damaged spring removed, align the new spring into the same position. Ensure it is securely attached and mirrors the alignment of its predecessor. A correctly positioned spring is vital to restoring the machine's performance and longevity. Afterward, begin reassembling the washer by replacing the back panel. Double-check all connections and ensure the panels are firmly in place. A loose panel can lead to more noise during the machine’s operation, denying the peace and quiet that a correctly functioning washing machine can provide. Once reassembled, plug the washer back into the power source and reconnect the water supply. Perform a test run to ensure that the spring replacement was successful. Observe the washing machine through a complete cycle, paying close attention to any unusual noises or vibrations. The absence of such issues often indicates a successful spring replacement. Replacing a spring is not just about restoring functionality; it’s also an opportunity to enhance the lifespan of your appliance. Routine maintenance, such as inspecting components for wear and tear, can preempt more severe issues. In conclusion, while replacing the spring in a Roper washer requires some technical skill, it’s a manageable task that can be accomplished with patience and precision. This proactive approach not only addresses immediate concerns but also contributes to the washer’s durable and efficient operation. Regular inspections and early interventions are strategies that afford users peace of mind and extend appliance longevity. Through understanding, preparation, and careful execution, homeowners can master this repair and ensure their Roper washer serves them well for years to come.
Next:
Prev:
Latest news
-
Top Choices for Plasterboard FixingNewsDec.26,2024
-
The Versatility of Specialty WashersNewsDec.26,2024
-
Secure Your ProjectsNewsDec.26,2024
-
Essential Screws for Chipboard Flooring ProjectsNewsDec.26,2024
-
Choosing the Right Drywall ScrewsNewsDec.26,2024
-
Black Phosphate Screws for Superior PerformanceNewsDec.26,2024
-
The Versatile Choice of Nylon Flat Washers for Your NeedsNewsDec.18,2024


