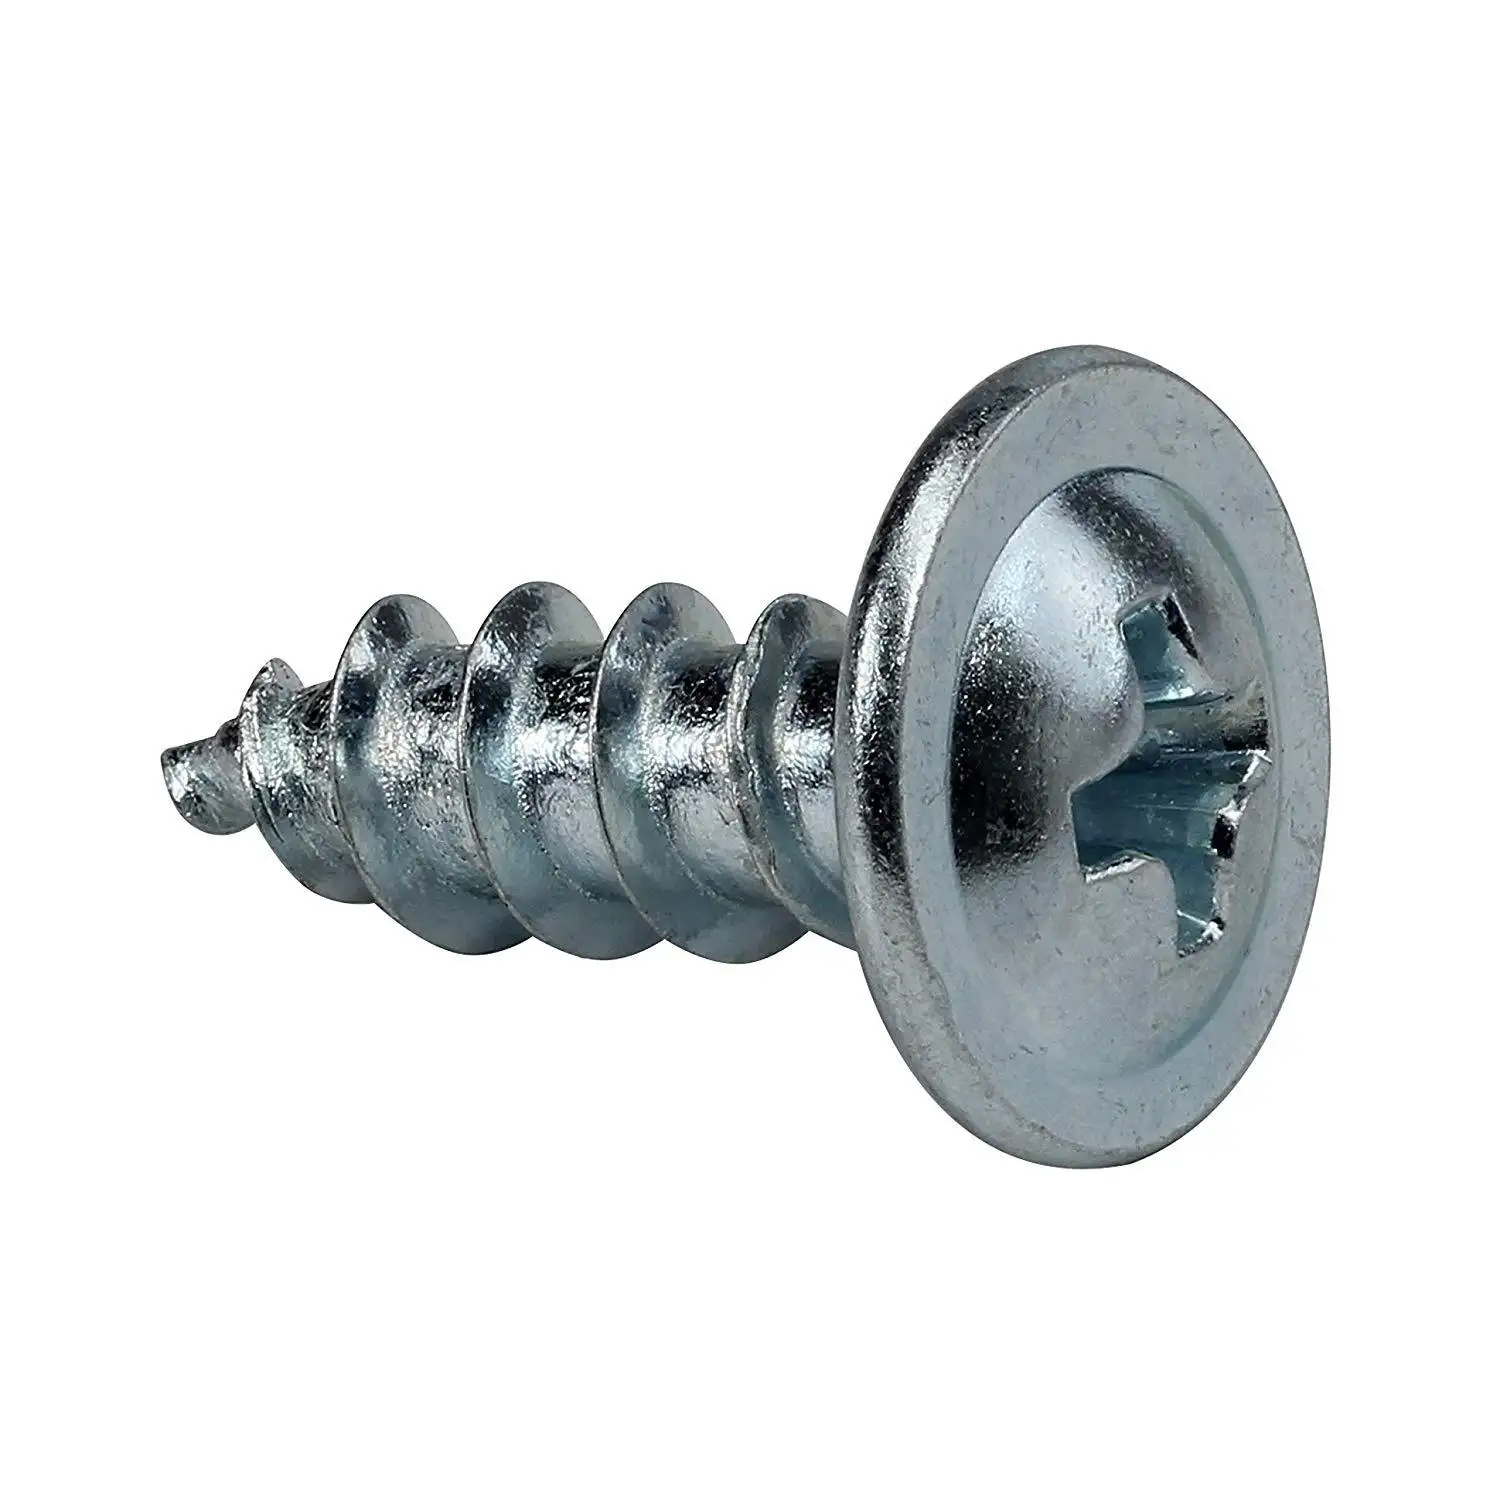
How to Effectively Fill Large Screw Holes in Drywall | Expert Tips & Techniques
Filling Large Screw Holes in Drywall A Step-by-Step Guide
When it comes to home repairs, filling large screw holes in drywall is a common task that many homeowners encounter. Whether you've removed a shelf, taken down a picture frame, or are simply updating your living space, unsightly holes can detract from the overall appearance of your walls. Fortunately, with the right tools and techniques, you can easily repair these holes and restore your drywall to its original condition.
Understanding Drywall and Hole Sizes
Drywall is a versatile material used in most modern construction, made from gypsum sandwiched between two layers of heavy paper. It is relatively easy to work with, but it can also be susceptible to damage. Screw holes can vary in size; small holes left by standard screws can be easily patched, while larger holes may require a more thorough approach.
Gathering Your Supplies
Before you begin the repair process, it's essential to gather the necessary supplies. For filling large screw holes, you will need
- Joint compound (often referred to as mud) - A putty knife - Sandpaper (120-grit and finer) - Primer and paint (to match your wall color) - A utility knife (if necessary) - A sponge or cloth (for cleanup)
Step-by-Step Repair Process
filling large screw holes in drywall quotes

1. Prepare the Area Start by cleaning the area around the hole. Remove any loose debris or dust with a utility knife or a brush. This ensures that the joint compound adheres well to the surface.
2. Assess the Hole Size If the hole is larger than a quarter-sized diameter, you may consider using a wall repair patch or mesh tape. For screw holes that are relatively large but not excessively so, applying joint compound directly can be sufficient.
3. Apply Joint Compound Using your putty knife, scoop a generous amount of joint compound and press it into the hole, filling it completely. Smooth the surface by dragging the knife over the area, feathering the edges so that they blend seamlessly into the surrounding drywall.
4. Let It Dry Allow the joint compound to dry completely. Depending on the humidity and temperature in your space, this may take several hours or overnight. Be patient; rushing this step can lead to cracks or uneven surfaces.
5. Sand the Area Once the compound is dry, use sandpaper to smooth the area. Start with 120-grit sandpaper and finish with a finer grit for a flawless surface. Be careful not to sand too much, as you want to avoid damaging the surrounding drywall.
6. Prime and Paint After sanding, wipe the area with a damp cloth to remove dust. Then, apply a coat of primer to seal the joint compound. Once the primer has dried, paint the area with matching paint to ensure it blends in with the rest of the wall.
Conclusion
Filling large screw holes in drywall may seem daunting, but it’s a straightforward DIY task. With the right materials and techniques, you can achieve professional-looking results without hiring a contractor. Keeping your walls in good condition is essential for maintaining the overall aesthetic of your home, and mastering this simple repair will save you time and money in the long run. Whether you’re preparing your home for sale or just want to refresh your space, knowing how to fix drywall issues is a valuable skill.
-
Top Choices for Plasterboard FixingNewsDec.26,2024
-
The Versatility of Specialty WashersNewsDec.26,2024
-
Secure Your ProjectsNewsDec.26,2024
-
Essential Screws for Chipboard Flooring ProjectsNewsDec.26,2024
-
Choosing the Right Drywall ScrewsNewsDec.26,2024
-
Black Phosphate Screws for Superior PerformanceNewsDec.26,2024
-
The Versatile Choice of Nylon Flat Washers for Your NeedsNewsDec.18,2024


