


Mar . 06, 2025 17:27
Back to list
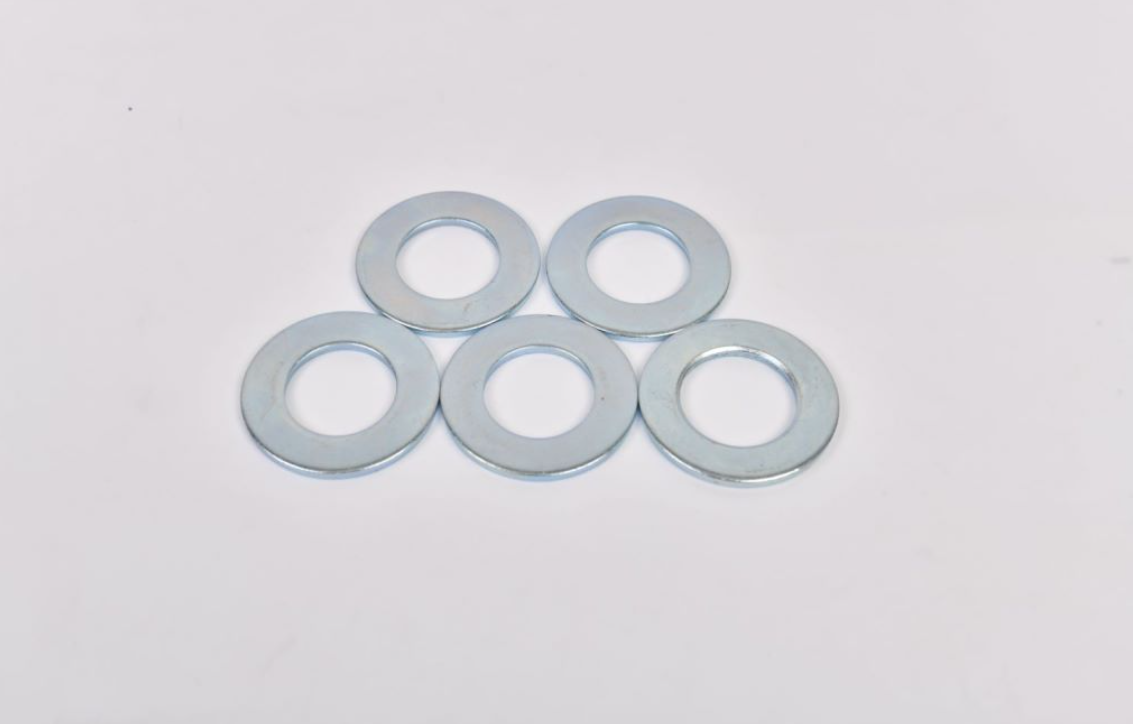
FLAT WASHER
The Roper washer, cherished by many households, becomes even more efficient with the proper functioning of its counterbalance spring. This small but significant component plays a crucial role in maintaining the balance and reducing the vibration during the spin cycle. Understanding the nuances of the Roper washer counterbalance spring can elevate its utility and the overall washing experience.
An often-overlooked tip for the optimal function of the counterbalance springs is the even loading of your washer. This practice minimizes the strain on the springs and other components. Distributing clothes evenly around the agitator and avoiding overloading can drastically prolong the lifespan of the springs and improve washing results. Those who have successfully replaced the counterbalance springs on their Roper washers often report a significant reduction in noise and improved stability. Moreover, this simple maintenance task can lead to energy savings. By allowing the washer to operate smoothly without itself battling vibrations, energy use during the spin cycle often decreases. For unrivaled guidance, consulting Roper’s technical support or certified repair specialists can provide additional peace of mind. Many users have shared their success stories on forums and appliance repair websites, contributing to a wealth of knowledge that underscores the feasibility and benefits of DIY maintenance. In conclusion, the counterbalance spring in a Roper washer is a testament to the intricacies of appliance engineering. Its role in maintaining harmony within your washing machine is paramount, and understanding its function can transform your usage experience from average to exceptional. For those willing to delve into the mechanics of their home appliances, mastering the care and replacement of a counterbalance spring is not just about efficiency; it’s about extending the legacy of a well-loved washer for years to come.
An often-overlooked tip for the optimal function of the counterbalance springs is the even loading of your washer. This practice minimizes the strain on the springs and other components. Distributing clothes evenly around the agitator and avoiding overloading can drastically prolong the lifespan of the springs and improve washing results. Those who have successfully replaced the counterbalance springs on their Roper washers often report a significant reduction in noise and improved stability. Moreover, this simple maintenance task can lead to energy savings. By allowing the washer to operate smoothly without itself battling vibrations, energy use during the spin cycle often decreases. For unrivaled guidance, consulting Roper’s technical support or certified repair specialists can provide additional peace of mind. Many users have shared their success stories on forums and appliance repair websites, contributing to a wealth of knowledge that underscores the feasibility and benefits of DIY maintenance. In conclusion, the counterbalance spring in a Roper washer is a testament to the intricacies of appliance engineering. Its role in maintaining harmony within your washing machine is paramount, and understanding its function can transform your usage experience from average to exceptional. For those willing to delve into the mechanics of their home appliances, mastering the care and replacement of a counterbalance spring is not just about efficiency; it’s about extending the legacy of a well-loved washer for years to come.
Next:
Prev:
Latest news
-
Top Choices for Plasterboard FixingNewsDec.26,2024
-
The Versatility of Specialty WashersNewsDec.26,2024
-
Secure Your ProjectsNewsDec.26,2024
-
Essential Screws for Chipboard Flooring ProjectsNewsDec.26,2024
-
Choosing the Right Drywall ScrewsNewsDec.26,2024
-
Black Phosphate Screws for Superior PerformanceNewsDec.26,2024
-
The Versatile Choice of Nylon Flat Washers for Your NeedsNewsDec.18,2024


