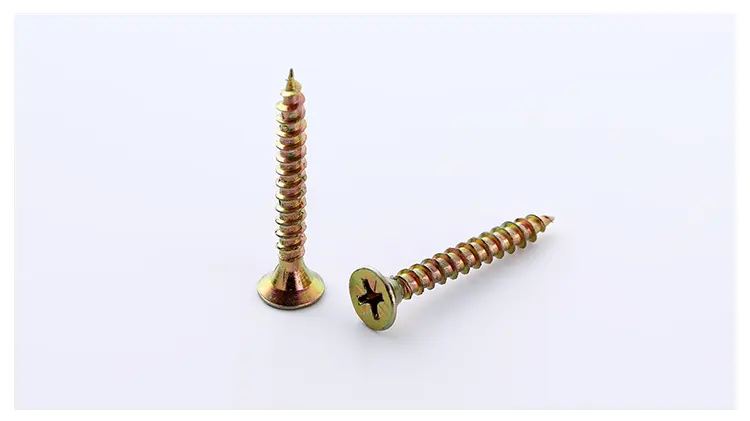
Guide to Installing Screws in Drywall for Perfect Results
The Art of Putting a Screw in Drywall A Guide for Homeowners
If you've ventured into the world of home improvement, you’ve likely encountered drywall at some point. Whether it’s for hanging pictures, mounting shelves, or installing fixtures, knowing how to properly put a screw in drywall is essential for achieving a professional look. This article will guide you through the process, ensuring that your projects not only stand out visually but also remain structurally sound.
Understanding Drywall
Drywall, often referred to as gypsum board, is a construction material commonly used for interior wall and ceiling applications. It consists of a gypsum core sandwiched between two sheets of heavy paper. While it is a versatile material, drywall has its peculiarities that require some consideration when it comes to fastening.
Tools You’ll Need
Before you embark on your drywall project, gather the following tools and materials
1. Screws Choose the right type of screws; drywall screws (typically 1-1/4 inch to 1-5/8 inch) are designed specifically for this purpose. 2. Drill or Screwdriver A power drill can speed up the process, but a manual screwdriver works just as well for smaller projects.
3. Stud Finder This tool helps locate the wooden or metal studs behind the drywall, which are essential for securely anchoring your screws.
4. Level To ensure that your mounted items are straight.
5. Tape Measure To measure spacing accurately.
The Process of Installing Screws in Drywall
putting a screw in drywall company

1. Locate the Studs Use the stud finder to identify the location of studs behind the drywall. Studs are typically spaced either 16 or 24 inches apart. If possible, always aim to screw into a stud for optimal support.
2. Mark Your Placement Once you’ve found the stud, use a pencil to mark where you plan to insert the screw. If you’re hanging something lightweight, you can use wall anchors, but they won’t hold as much weight as a stud.
3. Drill the Pilot Hole (if necessary) For larger screws or harder drywall, consider drilling a pilot hole to make it easier to insert the screw. This helps prevent the drywall from cracking.
4. Insert the Screw Use the drill or screwdriver to drive the screw into the drywall. Stop once the screw head is just below the surface of the drywall. This will allow you to cover any imperfections later if needed.
5. Check for Level If you’re installing multiple screws (like for a shelf), use a level to ensure everything is straight before fully tightening the screws.
Tips for Success
- Don’t Over-tighten While it might be tempting to drive the screw deep into the drywall, over-tightening can cause damage. Aim for a snug fit rather than a deep plunge.
- Use Anchors for Heavy Loads For items like TVs or heavy shelves, wall anchors or toggle bolts are necessary when you’re not directly fastening into a stud.
- Practice Patience If you’re new to DIY projects, practice on a scrap piece of drywall if possible. This will help you get a feel for the proper technique and tools.
Conclusion
Putting screws in drywall is a fundamental skill for any homeowner engaging in DIY projects. By following these steps and using the right tools, you can ensure your installations are secure and aesthetically pleasing. Whether you’re hanging art or building a custom storage solution, mastering this skill will significantly enhance your home improvement endeavors. So grab your tools, and get started on creating a space that reflects your personal style!
-
Top Choices for Plasterboard FixingNewsDec.26,2024
-
The Versatility of Specialty WashersNewsDec.26,2024
-
Secure Your ProjectsNewsDec.26,2024
-
Essential Screws for Chipboard Flooring ProjectsNewsDec.26,2024
-
Choosing the Right Drywall ScrewsNewsDec.26,2024
-
Black Phosphate Screws for Superior PerformanceNewsDec.26,2024
-
The Versatile Choice of Nylon Flat Washers for Your NeedsNewsDec.18,2024


