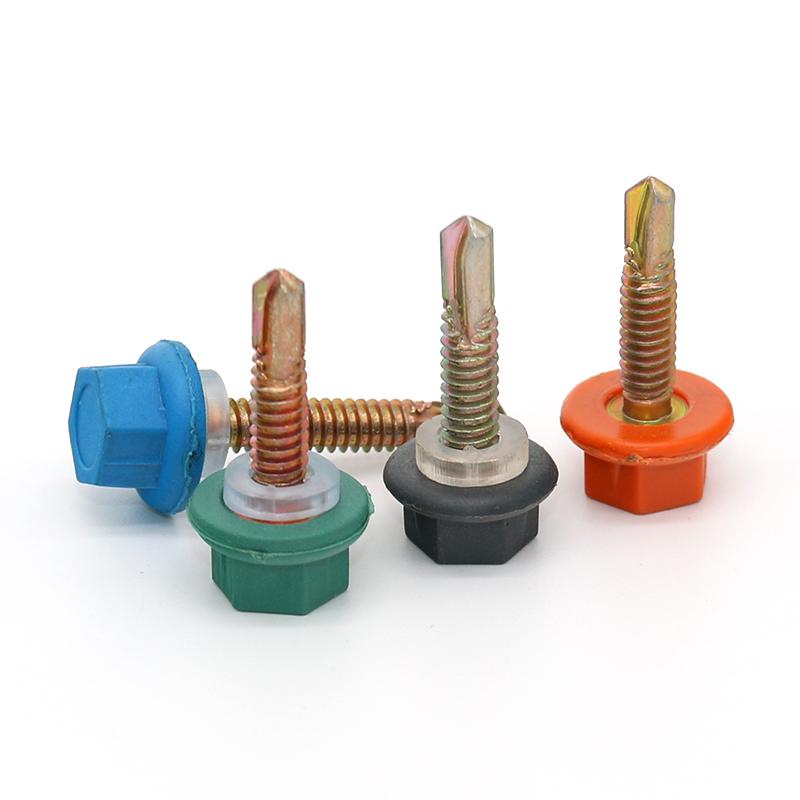
Filling and Finishing Screw Holes in Drywall for a Smooth Surface
Mudding Drywall Screw Holes A Comprehensive Guide for Home Improvement Enthusiasts
When undertaking a home improvement project, one of the most challenging yet rewarding tasks is installing drywall. Whether you're finishing a basement, building an extension, or simply renovating a room, ensuring a smooth and seamless finish is vital. One common issue that arises during the drywall installation process is the appearance of screw holes. This article delves into the best practices for mudding drywall screw holes, providing a step-by-step guide for DIY enthusiasts and homeowners alike.
The Importance of Proper Mudding
Mudding, or applying joint compound to drywall seams and screw holes, is essential for achieving a professional finish. It not only hides imperfections but also strengthens the seams, making your wall more resilient. When screw holes are left untreated, they can create a lumpy appearance, draw the eye, and undermine the overall aesthetics of your space.
What You’ll Need
Before you begin, gather your supplies. You’ll need
1. Joint compound (also known as mud) 2. A putty knife or drywall knife 3. Sanding sponge or sandpaper (medium and fine grit) 4. A damp cloth 5. Primer and paint (for finishing)
Step-by-Step Guide to Mudding Screw Holes
mudding drywall screw holes factory

1. Prepare the Area Start by cleaning the surface around the screw holes. Remove any loose debris or dust to ensure proper adhesion of the joint compound. A damp cloth can be helpful for wiping down the surface.
2. Apply Joint Compound Using a putty knife, scoop out a small amount of joint compound. Press the compound into the screw hole, making sure to fill it completely. Feather the edges by spreading the compound outward onto the surrounding drywall, which will help create a smooth transition. Take care not to apply too much, as this can lead to additional sanding later.
3. Let It Dry Allow the joint compound to dry thoroughly. Drying times may vary based on humidity and temperature, but generally, 24 hours is sufficient. Ensure the area is well-ventilated to facilitate drying.
4. Sand the Area Once dry, use a medium-grit sanding sponge to smooth the area. Sand in a circular motion to avoid creating divots in the surface. After the initial sanding, switch to fine-grit sandpaper for a smoother finish.
5. Clean Up Wipe the area with a damp cloth after sanding to remove dust. This step is crucial as it prepares the surface for painting.
6. Prime and Paint Before painting, apply a primer to the repaired area. This helps the paint adhere better and provides a uniform finish. Once the primer dries, paint the repaired section to match the rest of the wall.
Conclusion
Mudding drywall screw holes may seem like a tedious task, but it is crucial for achieving a polished and professional look in any space. With a little patience and the right tools, anyone can master this skill. By following the steps outlined above, you can transform your drywall installation from a rough, unfinished project into a smooth, beautiful wall ready for your personal touch. Home improvement not only enhances your living space but also boosts your confidence and skills as a DIY enthusiast. Happy mudding!
-
Top Choices for Plasterboard FixingNewsDec.26,2024
-
The Versatility of Specialty WashersNewsDec.26,2024
-
Secure Your ProjectsNewsDec.26,2024
-
Essential Screws for Chipboard Flooring ProjectsNewsDec.26,2024
-
Choosing the Right Drywall ScrewsNewsDec.26,2024
-
Black Phosphate Screws for Superior PerformanceNewsDec.26,2024
-
The Versatile Choice of Nylon Flat Washers for Your NeedsNewsDec.18,2024


