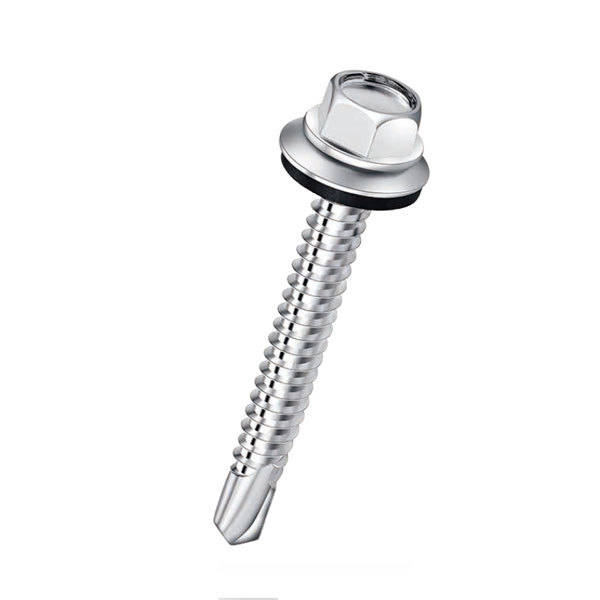
How to Repair Screw Holes in Drywall by Professional Contractors and DIY Techniques
Fixing a Screw Hole in Drywall A Comprehensive Guide for Homeowners
Homeowners often find themselves facing the inevitable wear and tear that comes with maintaining a household. One common issue that many encounter is unsightly screw holes in drywall. Whether these holes are the result of hanging pictures, shelves, or other wall decor, they can detract from the aesthetics of a room. Fortunately, fixing these holes is a manageable task that most can do themselves. Here’s a step-by-step guide on how to effectively fix screw holes in drywall, along with some additional tips on when to seek professional help.
Understanding the Problem
Before diving into the repair process, it's important to understand the nature of drywall. Typically made from a gypsum core sandwiched between two sheets of heavy paper, drywall is prone to damage from nails and screws. When a screw is removed, it often leaves behind a hole that can vary in size. Minor dings can be easily managed, but larger holes may require more extensive repair techniques.
Basic Tools and Materials
To repair a screw hole in drywall, you will need
- A putty knife - Drywall compound (often referred to as joint compound) - Sandpaper (medium and fine grit) - Primer and paint - A clean cloth for dusting
Step-by-Step Repair Process
1. Clean the Area Start by cleaning the area surrounding the screw hole. Use a cloth to remove any dust and debris to ensure a smooth application.
fix a screw hole in drywall companies

2. Apply Joint Compound Using your putty knife, scoop a small amount of joint compound and spread it over the hole. For smaller holes, a single application might suffice, but larger holes may require building up the compound in layers. Ensure that the compound is slightly wider than the hole itself to allow for feathering.
3. Smooth the Surface After applying the compound, smooth it out with the putty knife. Try to make it as flush as possible with the surrounding wall to minimize sanding later.
4. Let It Dry Allow the joint compound to dry completely. Drying times may vary based on humidity and temperature, but typically, it takes several hours.
5. Sand the Area Once dry, use medium-grit sandpaper to gently sand the area until it’s smooth. Then switch to fine-grit sandpaper for a more polished finish. Be careful not to over-sand and damage the surrounding drywall.
6. Prime and Paint After sanding, wipe away any dust with a clean cloth. Then, apply a primer to the repaired area to seal the compound. Once the primer has dried, paint over it with the same color as the wall. You may need multiple coats, so allow adequate drying time between applications.
When to Hire Professionals
While fixing small screw holes in drywall can typically be a DIY project, certain situations may call for professional help. If the holes are extensive, involve water damage, or if you're uncomfortable with DIY projects, it may be wise to consult a drywall repair company. Professional services can ensure that the repair is seamless and indistinguishable from the surrounding wall.
Conclusion
Fixing screw holes in drywall is a simple yet impactful home maintenance task that anyone can accomplish. With the right tools and materials, homeowners can restore the beauty of their walls and maintain a polished appearance in their living spaces. However, knowing when to elevate the issue to a professional can save both time and frustration in the long run. Whether you choose to tackle this task yourself or hire a company, addressing screw holes promptly will help keep your home looking its best.
-
Top Choices for Plasterboard FixingNewsDec.26,2024
-
The Versatility of Specialty WashersNewsDec.26,2024
-
Secure Your ProjectsNewsDec.26,2024
-
Essential Screws for Chipboard Flooring ProjectsNewsDec.26,2024
-
Choosing the Right Drywall ScrewsNewsDec.26,2024
-
Black Phosphate Screws for Superior PerformanceNewsDec.26,2024
-
The Versatile Choice of Nylon Flat Washers for Your NeedsNewsDec.18,2024


