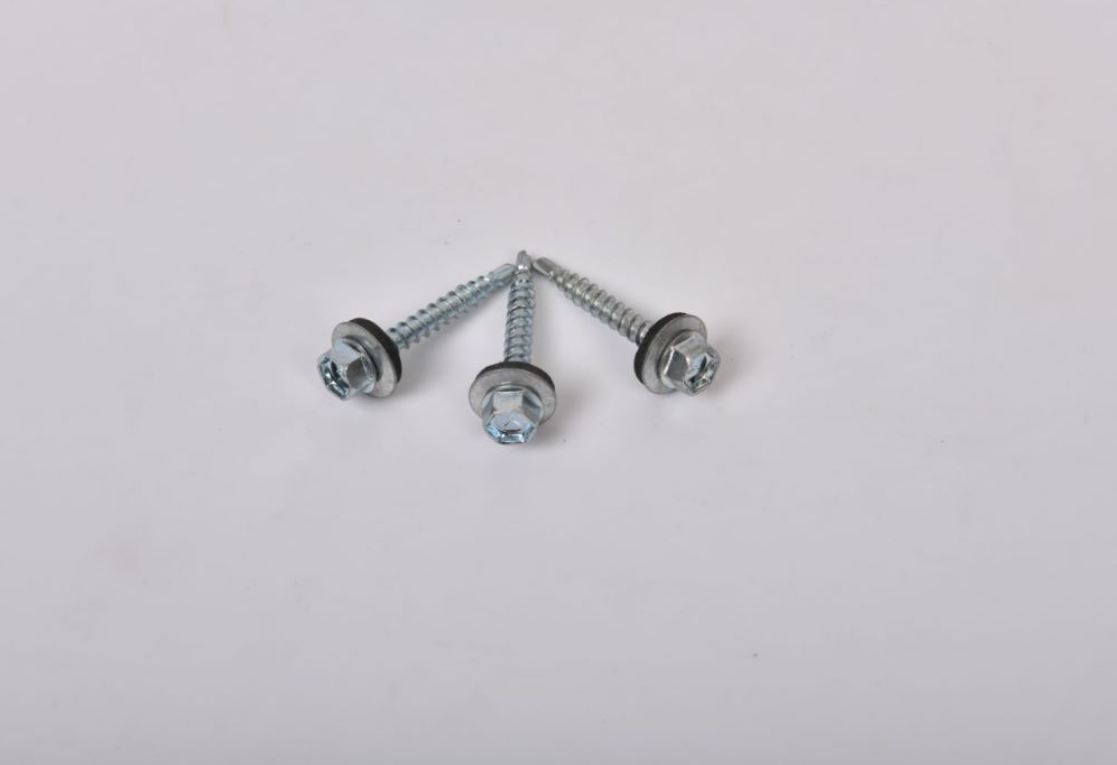
fix a screw hole in drywall service
How to Fix a Screw Hole in Drywall A Step-by-Step Guide
Drywall is a popular building material due to its affordability and ease of installation. However, it is prone to damage, particularly from screw holes left behind from furniture or fixtures. Fortunately, fixing these holes is a straightforward process that can be accomplished in just a few easy steps. In this article, we will guide you through the necessary steps to repair screw holes in drywall effectively.
Materials Needed
Before you begin, gather the following materials
1. Drywall patch compound or spackling paste 2. Putty knife 3. Sandpaper (medium and fine grit) 4. Primer and paint (if necessary) 5. Clean cloth
Step 1 Clean the Area
Start by inspecting the screw hole. Use a clean cloth to wipe away any dust or debris surrounding the hole. A clean surface will ensure better adhesion of the patch compound.
Step 2 Fill the Hole
For small screw holes (up to 1/4 inch in diameter), you can directly apply the patch compound. Use a putty knife to scoop a small amount of compound and press it into the hole. Ensure the compound is level with the surrounding wall surface. For larger holes, it might be necessary to use a drywall patch, but for most minor holes, the patch compound alone will suffice.
Step 3 Smooth the Surface
fix a screw hole in drywall service

Once the hole is filled, use the putty knife to smooth out the surrounding area. This will help the repaired section blend seamlessly with the wall. If the area is not completely smooth, you may need to apply an additional layer of the compound and repeat the smoothing process.
Step 4 Let it Dry
Allow the patch compound to dry completely. Drying times can vary depending on the product, so be sure to follow the manufacturer's instructions. Typically, it can take anywhere from one to several hours.
Step 5 Sand the Area
After the compound has dried, use medium-grit sandpaper to gently sand the surface until it is smooth and flush with the rest of the wall. Follow up with fine-grit sandpaper to create a polished finish. Be careful not to sand away too much, as this can damage the surrounding drywall.
Step 6 Prime and Paint
If your repaired area is noticeably different in color, apply a primer before painting. This will ensure that the paint adheres properly and will help achieve an even finish. Once the primer is dry, paint over the area to match the surrounding wall.
Conclusion
Repairing screw holes in drywall is a simple process that can be completed in just a few steps. By following this guide, you can restore the appearance of your walls and maintain the aesthetics of your home. Whether you're preparing for a special occasion or just maintaining your living space, a little effort can go a long way in achieving a polished look.
-
Top Choices for Plasterboard FixingNewsDec.26,2024
-
The Versatility of Specialty WashersNewsDec.26,2024
-
Secure Your ProjectsNewsDec.26,2024
-
Essential Screws for Chipboard Flooring ProjectsNewsDec.26,2024
-
Choosing the Right Drywall ScrewsNewsDec.26,2024
-
Black Phosphate Screws for Superior PerformanceNewsDec.26,2024
-
The Versatile Choice of Nylon Flat Washers for Your NeedsNewsDec.18,2024


