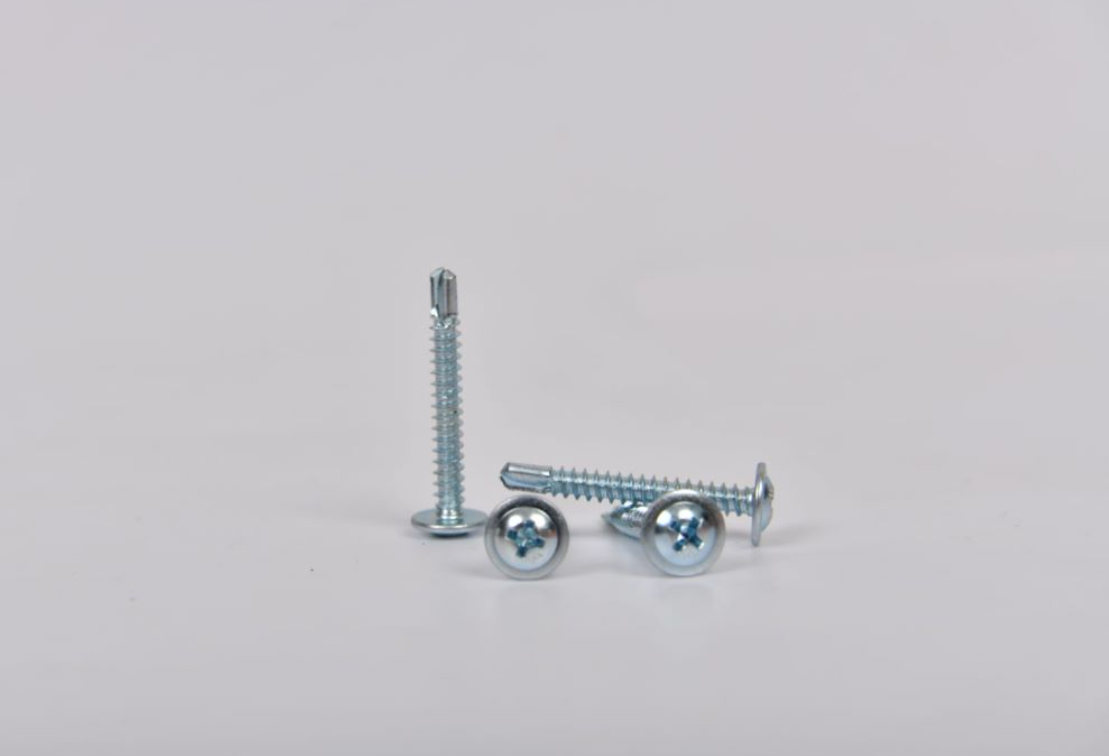
Ceiling Drywall Screw Layout Recommendations for Optimal Support and Stability
Understanding Drywall Screw Patterns for Ceiling Installation
Installing drywall on ceilings can be a daunting task, especially for those who are new to home improvement projects. One crucial aspect of this installation process is understanding the proper screw pattern for drywall, as it ensures a stable and secure attachment. In this article, we'll delve into the specifics of drywall screw patterns for ceilings, providing you with essential tips and best practices for a successful installation.
The Importance of Screw Patterns
When it comes to drywall, the screw pattern greatly affects both the aesthetics and structural integrity of the finished ceiling. Correctly spaced screws help prevent sagging and cracking, ensuring a smooth and level surface that can be easily finished. A consistent screw pattern also makes taping and mudding (the process of applying joint compound) much easier, resulting in a professional-looking finish.
Recommended Screw Patterns for Ceiling Drywall
The standard practice for attaching drywall to ceilings involves a few key considerations regarding the screw pattern. Here's a breakdown of the recommended practices
1. Screw Spacing For ceilings, it’s recommended to place screws at intervals of about 12 inches along the edges of the drywall panels and approximately 16 inches in the field (the area away from the edges). This spacing helps provide adequate support and minimizes the risk of sagging.
2. Edge Support Ensure that the screws are set at least 3/8 inches from the edge of the drywall to avoid damaging the board. A good rule of thumb is to place screws 12 inches apart along all edges of the drywall panels.
3. Field Support In the field of the drywall, the same 16-inch spacing applies. However, keep in mind that if you're using 5/8-inch drywall, you might consider reducing the spacing to 12 inches for added support, especially in areas with heavy foot traffic or high humidity.
Installation Technique
drywall screw pattern for ceiling

When installing drywall on ceilings, the technique is just as important as the screw pattern. Here are a few steps to follow
1. Proper Positioning Start by holding the drywall against the ceiling joists. It can be helpful to use a drywall lift or enlist a friend to help hold the panel in place while you screw it into the joists.
2. Pilot Holes Although not always necessary, drilling pilot holes can make it easier to insert the screws, especially if you are working with dense materials. This technique can reduce the risk of splitting the drywall.
3. Screw Depth When you drive in the screws, make sure they are sunk just below the surface of the drywall without breaking the paper. This slight indentation is crucial for achieving a smooth finish when you apply joint compound and tape.
4. Screw Type Use drywall screws that are specifically designed for ceiling installation. These screws are typically 1-1/4 to 1-5/8 inches long for half-inch drywall and about 1-5/8 to 2 inches for thicker panels. Coated drywall screws can help resist corrosion over time.
Final Considerations
Once you’ve installed your drywall, the next step is to tape and finish the seams. A seamless finish can be achieved by properly applying joint compound and sanding it down once dried. This is also where the benefits of a consistent screw pattern will become apparent, as it will contribute to a smoother overall appearance.
Additionally, it’s essential to allow adequate time for the joint compound to cure between coats. Properly finished drywall will result in a more aesthetically pleasing ceiling and can significantly enhance your home’s overall appearance.
Conclusion
Understanding the proper drywall screw pattern for ceilings is a crucial part of ensuring a successful installation. By adhering to recommended screw spacing and employing effective installation techniques, you can avoid common issues such as sagging and cracking in your drywall. Whether you’re a seasoned DIY-er or a beginner, following these guidelines will equip you with the knowledge to achieve a beautiful ceiling that stands the test of time. Happy remodeling!
-
Top Choices for Plasterboard FixingNewsDec.26,2024
-
The Versatility of Specialty WashersNewsDec.26,2024
-
Secure Your ProjectsNewsDec.26,2024
-
Essential Screws for Chipboard Flooring ProjectsNewsDec.26,2024
-
Choosing the Right Drywall ScrewsNewsDec.26,2024
-
Black Phosphate Screws for Superior PerformanceNewsDec.26,2024
-
The Versatile Choice of Nylon Flat Washers for Your NeedsNewsDec.18,2024


