Recommended Screw Spacing for Installing Drywall Ceilings Effectively
Understanding Drywall Ceiling Screw Spacing A Comprehensive Guide
When it comes to installing drywall ceilings, many factors come into play to ensure a professional finish and structural integrity. One crucial element that often gets overlooked is the spacing of screws. Proper drywall ceiling screw spacing not only affects the appearance of the ceiling but also its durability and resistance to sagging. This article will explore the importance of correct screw spacing and provide guidelines on how to achieve optimal results.
Why Proper Screw Spacing Matters
Proper screw spacing is essential for two primary reasons structural strength and aesthetic appeal. When drywall is attached to the ceiling, it must be securely fastened to prevent sagging and to withstand various environmental factors, such as humidity and temperature changes. If screws are too far apart, the drywall may not be supported adequately, leading to cracks, warps, or even complete failures in the installation.
From an aesthetic standpoint, uniform screw spacing helps create a smooth surface for finishing. If screws are unevenly spaced or inconsistently driven in, it can lead to bumps and irregularities in the final appearance of the ceiling. This is especially critical if the ceiling will be painted or textured, as imperfections will be more visible.
Screw Spacing Guidelines
1. Standard Spacing For drywall ceilings, the standard screw spacing is typically 12 inches apart along the edges and 16 inches apart in the field of the board. This spacing helps distribute the weight evenly across the surface and prevents sagging over time.
2. Smaller Spaces for Heavier Loads If the drywall ceiling will support additional weight—such as light fixtures, ceiling fans, or other mounted items—consider reducing the spacing. In these cases, using screws 8 to 10 inches apart might be more suitable to provide extra support.
drywall ceiling screw spacing product

3. Edge Attachment When fastening drywall to the ceiling, it's important to use screws at the edges of each sheet. This will help secure the seams where two sheets meet, which are vulnerable to cracking if not properly supported.
4. Avoiding Overdriving While fastening the screws, be careful not to overdrive them. Overdriving can damage the drywall paper and reduce the holding strength of the screws. The heads of the screws should be slightly recessed but not buried below the surface.
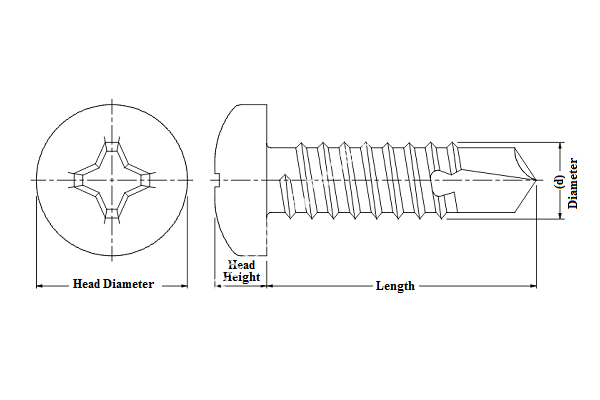
5. Types of Screws Using the right type of screws is also crucial. Drywall screws are specifically designed for this purpose, with sharp points that penetrate the material easily without causing excessive damage. They come in various lengths, so choose screws that suit the thickness of the drywall being installed.
Troubleshooting Common Issues
If you notice sagging or cracking after installation, it might indicate that the screws were spaced improperly or not driven in correctly. If caught early, it may be possible to add additional screws without significant trouble. Regularly check the ceiling, especially beneath heavy fixtures, to ensure that no issues are developing.
Conclusion
Proper drywall ceiling screw spacing is a key factor in achieving a long-lasting and visually appealing ceiling. By adhering to the established guidelines and ensuring careful installation, you can avoid potential issues and enjoy a professional finish. Whether you're a DIY enthusiast or a seasoned contractor, understanding the nuances of screw spacing will undoubtedly enhance your drywall installation projects. Remember, in construction, attention to detail makes all the difference!
-
Top Choices for Plasterboard FixingNewsDec.26,2024
-
The Versatility of Specialty WashersNewsDec.26,2024
-
Secure Your ProjectsNewsDec.26,2024
-
Essential Screws for Chipboard Flooring ProjectsNewsDec.26,2024
-
Choosing the Right Drywall ScrewsNewsDec.26,2024
-
Black Phosphate Screws for Superior PerformanceNewsDec.26,2024
-
The Versatile Choice of Nylon Flat Washers for Your NeedsNewsDec.18,2024


