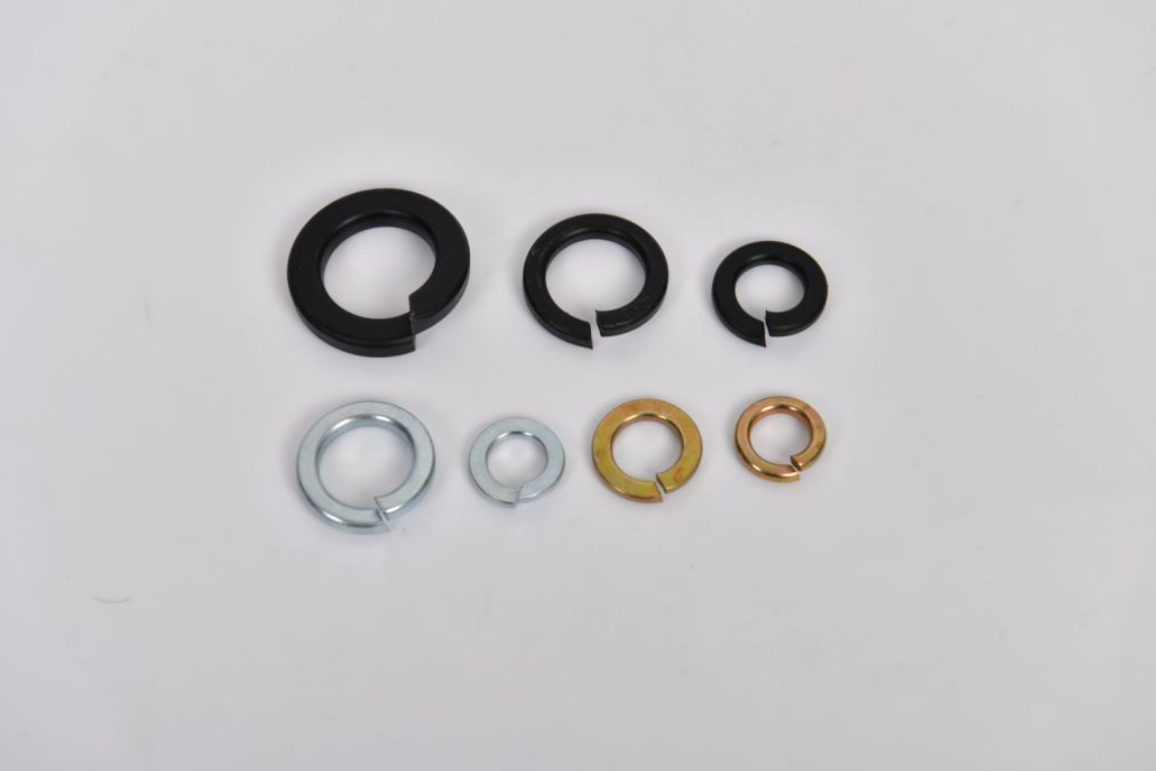
Guide to Properly Installing Custom Spring Washers for Optimal Performance
Custom Spring Washer Installation A Comprehensive Guide
Spring washers, also known as wave washers or lock washers, are essential components used in various mechanical applications to maintain tension and prevent loosening due to vibrations or dynamic loads. While standard spring washers serve their purpose well, custom spring washers tailored for specific requirements can significantly enhance performance and reliability. This article will guide you through the installation process of custom spring washers to ensure optimal functionality.
Understanding Custom Spring Washers
Custom spring washers are designed to meet specific operational needs that standard washers may not fulfill. They can be customized in terms of material, size, shape, and thickness, allowing engineers to address particular challenges such as space constraints, load requirements, or environmental conditions. Before you begin the installation process, ensure that you have selected the right custom spring washer for your application.
Tools and Materials Needed
Before you start, gather the necessary tools and materials
1. Custom spring washers 2. Bolts or screws (compatible with the washer) 3. Washer installation tools (if required) 4. Torque wrench 5. Screwdriver or socket wrench 6. Safety goggles and gloves
Step-by-Step Installation Process
1. Preparation of the Surface Ensure that the surfaces where the spring washer will be installed are clean and free from any debris or rust. A clean surface allows the washer to create proper contact and function effectively.
2. Select the Right Washer Choose the appropriate custom spring washer based on the specifications of your application. Refer to the manufacturer’s guidelines regarding load ratings and material properties.
custom spring washer installation

3. Positioning the Washer Place the custom spring washer onto the bolt or screw. Depending on the design of the washer, the concave side should typically face the surface upon which the load will be applied. This configuration maximizes the spring action and locking capabilities of the washer.
4. Insert the Bolt or Screw Carefully insert the bolt or screw through the washer and into the pre-drilled hole. Ensure that the assembly is aligned correctly to avoid cross-threading.
5. Hand Tightening Initially tighten the bolt or screw by hand. This ensures that the assembly remains aligned and prevents any misalignment due to tightening forces.
6. Torque Application Using a torque wrench, apply the manufacturer’s recommended torque settings to the bolt or screw. This step is crucial as over-tightening can deform the spring washer, while under-tightening may lead to loosening under operational conditions.
7. Final Inspection After tightening, inspect the assembly to ensure that the washer is seated correctly and that there are no visible gaps between the washer and the surface. This inspection helps verify that the installation aligns with the intended design.
Maintenance and Monitoring
Regular maintenance and monitoring of installations that include custom spring washers are vital for ensuring their long-term effectiveness. Check for signs of wear, deformation, or loosening. If any issues arise, consider replacing the custom spring washer as preventative maintenance.
Conclusion
Installing custom spring washers correctly is key to maximizing their benefits in mechanical assemblies. By following the above steps and adhering to proper practices, you can ensure that your installations are not only effective but also safe. Custom spring washers can greatly enhance the performance of your equipment, ultimately leading to increased reliability and longevity. Always consult with experts if you have any doubts about the specifications or installation procedures to ensure the best outcomes for your applications.
-
Top Choices for Plasterboard FixingNewsDec.26,2024
-
The Versatility of Specialty WashersNewsDec.26,2024
-
Secure Your ProjectsNewsDec.26,2024
-
Essential Screws for Chipboard Flooring ProjectsNewsDec.26,2024
-
Choosing the Right Drywall ScrewsNewsDec.26,2024
-
Black Phosphate Screws for Superior PerformanceNewsDec.26,2024
-
The Versatile Choice of Nylon Flat Washers for Your NeedsNewsDec.18,2024


