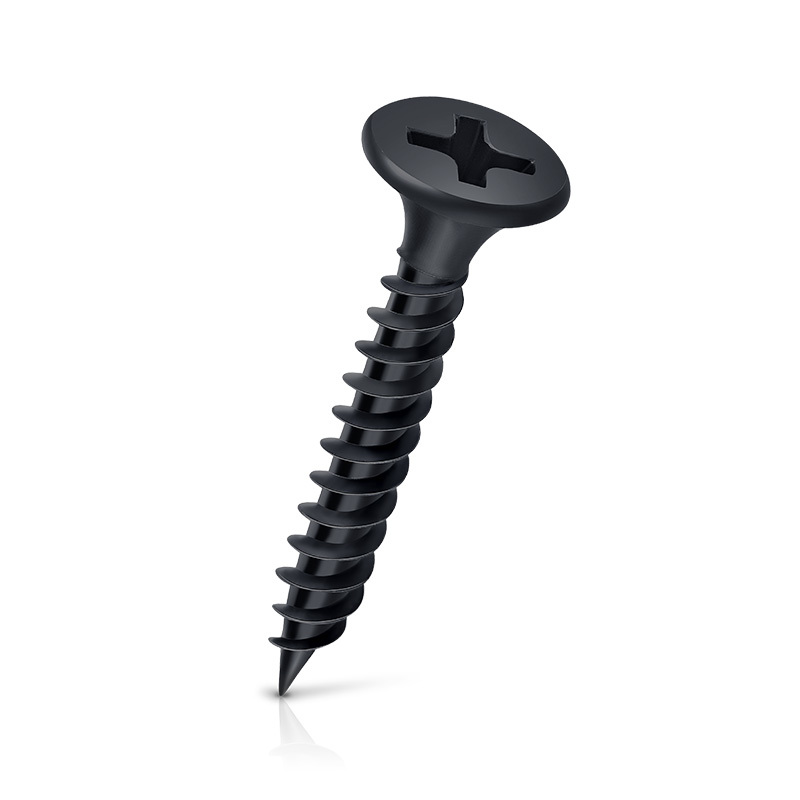
custom remove drywall screw anchor
How to Custom Remove a Drywall Screw Anchor A Comprehensive Guide
When it comes to working on drywall, one of the common issues homeowners and DIY enthusiasts face is the effective removal of screw anchors. Whether you wish to patch up a wall or simply move fixtures, understanding how to properly remove a drywall screw anchor is a crucial skill. This guide will walk you through the steps to custom remove drywall screw anchors, ensuring your wall remains intact and secure.
Understanding Drywall Screw Anchors
Before delving into the removal process, let’s first understand what drywall screw anchors are. These are devices used to attach items to drywall that can’t support the weight directly. They come in various types, but the most common ones include plastic anchors, toggle bolts, and molly bolts. Each type serves a different purpose and has its unique installation technique. When it comes time to remove an anchor, the method will depend on which type you are dealing with.
Materials You May Need
- Utility knife or drywall saw - Pliers - Screwdriver or drill - Drywall patch compound - Sandpaper - Paint (to match the wall color)
Step-by-Step Guide to Removing Drywall Screw Anchors
1. Identify the Type of Anchor - Before proceeding, determine the type of screw anchor installed. Plastic anchors simply pull out with a little force, whereas toggle bolts and molly bolts require more effort and specific techniques for removal.
custom remove drywall screw anchor

2. Remove the Screw - Begin by using a screwdriver or drill to remove the screw from the anchor. If the screw is stripped or stuck, you may need to use pliers for extra grip.
3. Pulling Out Plastic Anchors - If you’re dealing with a plastic anchor, grip the anchor with pliers and pull it out of the wall. Apply steady pressure to avoid tearing the drywall. If it doesn't come out easily, use a utility knife to carefully cut around it and loosen the joint.
4. Removing Toggle Bolts - Toggle bolts are anchored with a spring-loaded mechanism inside the wall. Unfortunately, these cannot be pulled directly out. Instead, you will need to remove the bolt while pushing the toggle inside the wall. Use a screwdriver to take out the bolt, and the toggle will drop into the cavity behind the wall, which is usually harmless.
5. Dealing with Molly Bolts - Molly bolts have a sleeve that expands behind the drywall for a more robust hold. Like toggle bolts, they require a different approach. If you've removed the screw, tap the sleeve lightly to push it into the wall cavity. If it doesn’t easily drop, you may need to use a drill to create a larger hole around the anchor to extract it.
6. Repairing the Wall - After the anchors are removed, you might notice damages or holes left in the drywall. Use a drywall patch compound to fill in the holes. Apply the compound using a putty knife, ensuring it’s smoothed over the surface. Allow it to dry completely, then sand it down until smooth.
7. Repainting - Finally, to restore the aesthetic of your wall, you can repaint the patched areas. Match the paint to your existing wall color for a seamless finish.
Conclusion
Removing drywall screw anchors can be a simple or complex task depending on their type and how they were installed. By following the steps outlined above, you’ll be able to custom remove drywall screw anchors effectively while minimizing damage to your walls. With a little patience and the right tools, you can ensure your walls look as good as new after the job is done. Whether you’re prepping for new installations or just doing some spring cleaning, mastering this skill is invaluable for any homeowner or DIY enthusiast. Happy renovating!
-
Top Choices for Plasterboard FixingNewsDec.26,2024
-
The Versatility of Specialty WashersNewsDec.26,2024
-
Secure Your ProjectsNewsDec.26,2024
-
Essential Screws for Chipboard Flooring ProjectsNewsDec.26,2024
-
Choosing the Right Drywall ScrewsNewsDec.26,2024
-
Black Phosphate Screws for Superior PerformanceNewsDec.26,2024
-
The Versatile Choice of Nylon Flat Washers for Your NeedsNewsDec.18,2024


