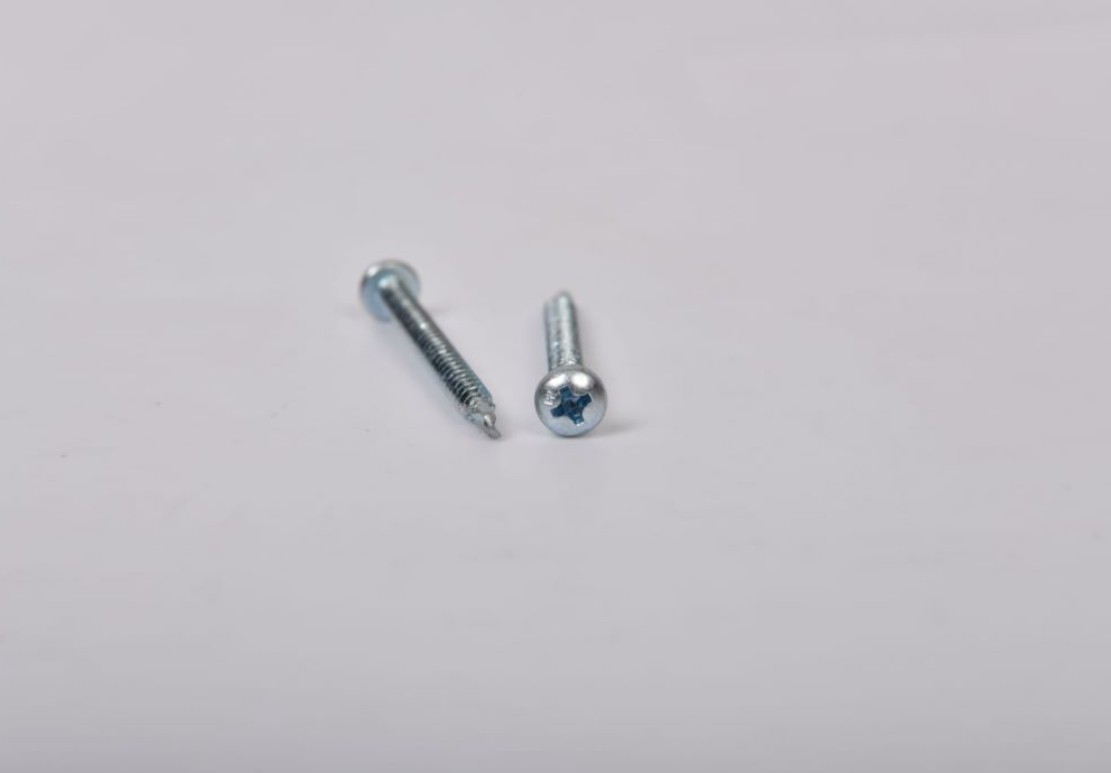
cheap drywall screw pop
Understanding Cheap Drywall Screw Pops Causes and Solutions
Drywall screw pops can be a common nuisance for homeowners and builders alike. If you're familiar with drywall installation, you may have encountered the unsightly bulges or cracks that appear on your walls after a few months or years of settling. The term screw pop refers to the phenomenon where the screw securing the drywall to the studs begins to back out or the drywall itself pulls away from the screw. While it may seem like a minor issue, understanding the causes and solutions to screw pops is essential for maintaining the integrity and appearance of your walls.
What Causes Screw Pops?
There are several reasons why screw pops occur, particularly in installations involving cheaper drywall or substandard screws
1. Moisture and Humidity Fluctuations in temperature and humidity can cause the wood studs behind the drywall to expand and contract. This movement can create pressure on the drywall, leading to screws backing out.
2. Poor Installation If drywall screws are not adequately driven into the studs, they can loosen over time. Using the wrong screw length or not maintaining the correct depth can contribute to this issue.
3. Settling or Shifting As a house settles over the years, the framing can shift slightly. This natural settling can exert enough force on the drywall to cause screws to pop.
4. Inadequate Screw Quality Cheaper screws, while more budget-friendly, may not have the same holding power as higher-quality alternatives. This can lead to an increased likelihood of screw pops appearing over time.
How to Fix Screw Pops
cheap drywall screw pop

Fortunately, screw pops can be resolved with a bit of effort. Here’s a simple step-by-step guide to address this issue effectively
1. Identify the Pop Gently press on the bulging area to determine whether it’s truly a screw pop and to identify the underlying screw.
2. Re-Sink the Screw Using a drywall screw gun or a power drill, carefully re-sink the screw deeper into the stud. Be cautious not to break the paper layer of the drywall.
3. Add More Screws For added security, consider adding more screws around the pop to give the drywall additional support.
4. Patch the Area Use joint compound to fill the hole created by the screw and any visible imperfections around it. Once it dries, sand it down for a smooth finish.
5. Repaint as Needed After the joint compound has dried and been sanded, repaint the area to blend it with the surrounding wall.
Conclusion
While the presence of drywall screw pops can be an annoyance, they are a fixable issue that, once addressed, can greatly improve the appearance of your walls. Investing in quality materials and taking the time to ensure proper installation can help prevent screw pops from occurring in the first place. Being proactive about maintenance will ensure that your home remains visually appealing and structurally sound for years to come.
-
Top Choices for Plasterboard FixingNewsDec.26,2024
-
The Versatility of Specialty WashersNewsDec.26,2024
-
Secure Your ProjectsNewsDec.26,2024
-
Essential Screws for Chipboard Flooring ProjectsNewsDec.26,2024
-
Choosing the Right Drywall ScrewsNewsDec.26,2024
-
Black Phosphate Screws for Superior PerformanceNewsDec.26,2024
-
The Versatile Choice of Nylon Flat Washers for Your NeedsNewsDec.18,2024


