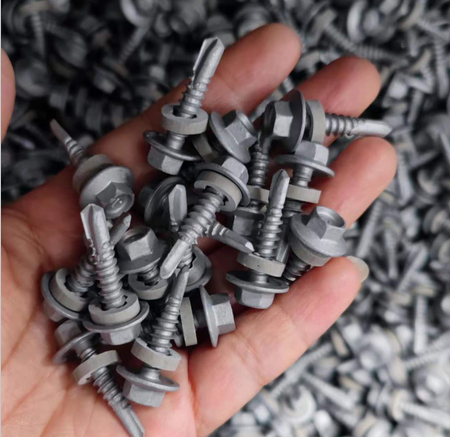
Optimal Drywall Screw Spacing for Walls | Guide to Proper Installation
Understanding Drywall Screw Spacing on Walls
When it comes to hanging drywall, the importance of proper screw spacing cannot be overstated. Using the right spacing for drywall screws ensures that the drywall panels are securely attached to the underlying framing, providing a flat surface that’s ready for finishing. This guide will help you navigate the best practices for drywall screw spacing on walls.
Why Proper Screw Spacing Matters
Proper screw spacing is crucial for several reasons. First and foremost, accurate spacing helps to prevent sagging, which can lead to cracks in the drywall over time. Additionally, well-placed screws ensure that the drywall panels do not warp or deform, providing a smooth finish that is essential for both aesthetics and functionality. Moreover, correct screw placement facilitates easier taping and mudding, leading to better overall results in your drywall finishing process.
Recommended Screw Spacing
For standard drywall installation, the generally accepted screw spacing is as follows
1. Edges of the Panels Place screws every 12 inches along the edges of the drywall panels. This is vital to ensure that the edges are properly secured to the studs and prevents any movement or separation.
2. Field of the Panels In the field, or the middle section of the drywall panel, screws should be spaced about 16 inches apart. This spacing allows for adequate support while remaining efficient in the number of screws needed.
3. Ceilings vs. Walls If you're installing drywall on ceilings, the spacing slightly differs. Screws should be spaced about 12 inches apart throughout the panel, as ceiling installations are more prone to sagging.
buy drywall screw spacing on walls

Tips for Installation
To maximize the effectiveness of your drywall screws, consider the following tips
- Use the Right Type of Screw Drywall screws are specifically designed for drywall installation. They have a sharp point and fine threads that allow for easy penetration into the drywall and studs.
- Pre-Drilling If you’re working with particularly dense woods or metal studs, pre-drilling the screw holes can help prevent the drywall from cracking.
- Countersinking Ensure that each screw is slightly countersunk – about 1/16 inch below the surface of the drywall. This allows for the mudding process to fill the screw holes smoothly.
- Check for Level As you install, use a level to ensure that your drywall panels are straight. Proper alignment not only enhances the aesthetic but also contributes to structural integrity.
Conclusion
In conclusion, understanding and implementing correct drywall screw spacing is essential for achieving a lasting and professional finish in your drywall projects. By following the recommended screw placement guidelines and utilizing the right techniques, you can ensure that your walls are not only beautiful but also durable. Whether you're a seasoned professional or a DIY enthusiast, paying attention to these details will lead to better results in your drywall installation endeavors.
-
Top Choices for Plasterboard FixingNewsDec.26,2024
-
The Versatility of Specialty WashersNewsDec.26,2024
-
Secure Your ProjectsNewsDec.26,2024
-
Essential Screws for Chipboard Flooring ProjectsNewsDec.26,2024
-
Choosing the Right Drywall ScrewsNewsDec.26,2024
-
Black Phosphate Screws for Superior PerformanceNewsDec.26,2024
-
The Versatile Choice of Nylon Flat Washers for Your NeedsNewsDec.18,2024


