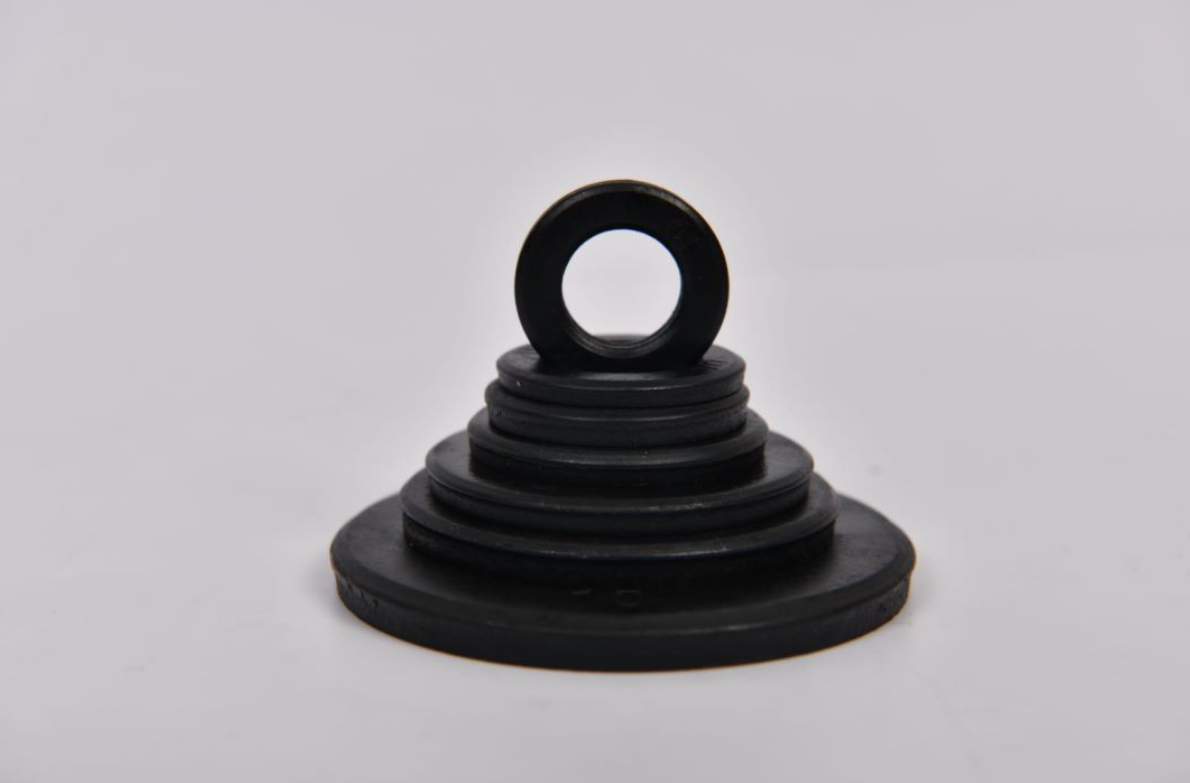
remove drywall screw anchor products
How to Remove Drywall Screw Anchor Products A Step-by-Step Guide
Drywall screw anchors are essential for hanging items on your walls securely. However, there may come a time when you need to remove these anchors, whether it’s for redecorating, repairing, or simply changing the position of your wall décor. In this article, we’ll walk you through the steps to effectively remove drywall screw anchor products, ensuring minimal damage to your walls.
Understanding Drywall Screw Anchors
Before diving into the removal process, it’s important to understand what drywall screw anchors are. These anchors provide additional support and stability for screws driven into drywall. They come in various designs, including toggles, molly bolts, and plastic anchors, each serving a specific purpose depending on the weight of the item being hung.
Tools You’ll Need
To begin, gather the following tools
1. Screwdriver (Phillips or flathead, depending on the type of screw anchor) 2. Pliers (if necessary) 3. Utility knife or drywall saw 4. Putty knife 5. Spackling compound or joint compound 6. Sandpaper 7. Paint or wall touch-up supplies (if needed)
Step-by-Step Removal Process
Step 1 Assess the Anchor Type
The first step in removing a drywall screw anchor is to determine its type
. Molly bolts, toggle bolts, and plastic anchors require different removal techniques.Step 2 Unscrew the Anchor
remove drywall screw anchor products

If the anchor is a screw-type (such as a molly bolt), start by removing the screw itself using a screwdriver. In some cases, the screw might be stuck. You can apply a little lubricant or wiggle it gently to loosen it.
Step 3 Remove the Anchor
- For Plastic Anchors If it’s a plastic anchor, it may pull out easily once the screw is removed. Grasp the anchor with pliers and pull it straight out. If it doesn’t budge, try pushing it into the wall slightly before pulling it out again.
- For Molly Bolts Molly bolts expand behind the drywall. After removing the screw, gently push the anchor toward the wall from the front using the hole left by the screw. You may need to pull it out with pliers if it does not easily fall out.
- For Toggle Bolts Removing toggle bolts requires caution. First, remove the bolt. The toggle wings usually fall into the wall cavity and can be difficult to retrieve. If the wings do not fall out on their own, gently tap the wall to loosen them, or use a magnet to fish them out, if accessible.
Step 4 Fill Any Holes
After removing the anchor, you’ll likely be left with a hole. Use a putty knife to apply spackling compound over the hole, smoothing it out with the knife. Allow it to dry completely as per the instructions on the compound packaging.
Step 5 Sand and Paint
Once the filler is dry, use sandpaper to smooth the area. After sanding, it’s time to touch up the paint. Matching the wall color may require a bit of effort, but it will ensure that the area looks as good as new.
Conclusion
Removing drywall screw anchors doesn’t have to be a daunting task. With the right tools and techniques, you can efficiently take them out and restore your wall to its pristine condition. Whether you're preparing for a new project or simply making a change, following these steps will help you navigate the process with ease. Happy home improvement!
-
Top Choices for Plasterboard FixingNewsDec.26,2024
-
The Versatility of Specialty WashersNewsDec.26,2024
-
Secure Your ProjectsNewsDec.26,2024
-
Essential Screws for Chipboard Flooring ProjectsNewsDec.26,2024
-
Choosing the Right Drywall ScrewsNewsDec.26,2024
-
Black Phosphate Screws for Superior PerformanceNewsDec.26,2024
-
The Versatile Choice of Nylon Flat Washers for Your NeedsNewsDec.18,2024


