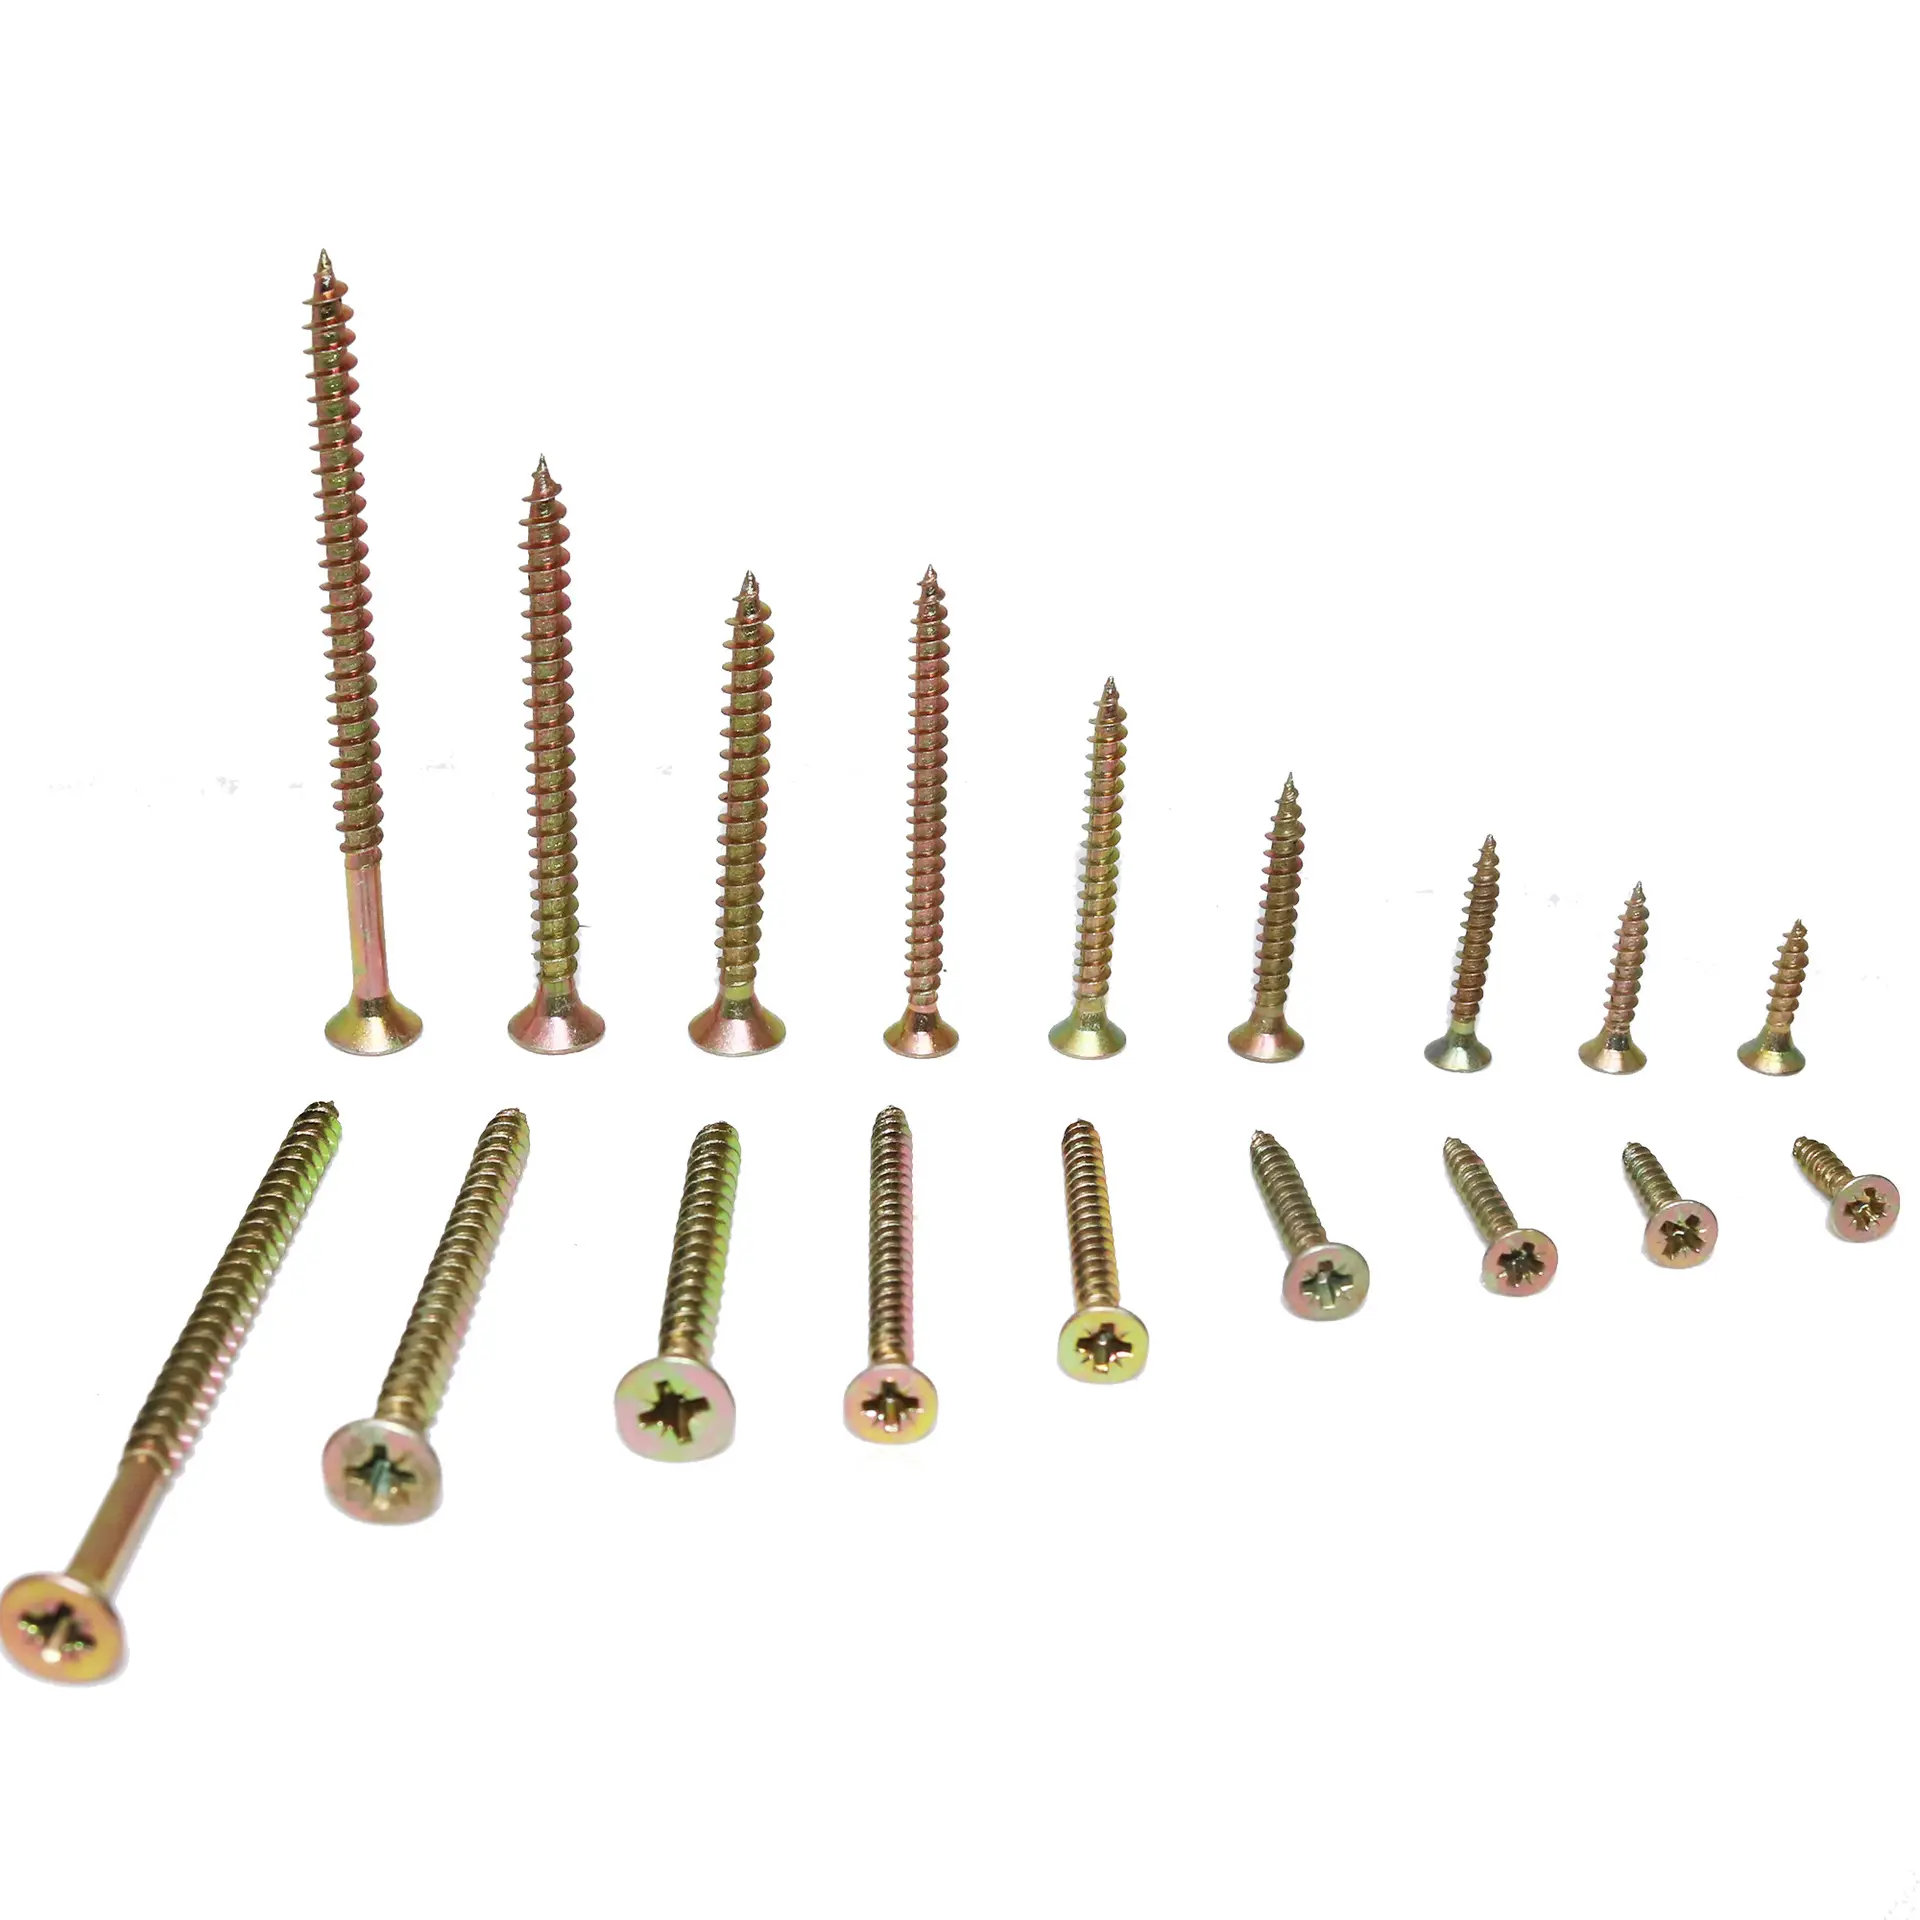
screw drywall to stud
How to Screw Drywall to Studs A Step-by-Step Guide
Screwing drywall to studs is a fundamental task in home renovation and construction that professionals and DIY enthusiasts alike need to master. This process involves attaching drywall sheets to wooden or metal studs in the wall framework, ensuring a secure and finished appearance for any interior space. Here, we’ll explore the necessary tools, preparation steps, and techniques for properly screwing drywall to studs.
Tools and Materials Needed
Before you begin, gather the following tools and materials
1. Drywall Sheets Standard sizes are 4x8 feet, but you can get different dimensions depending on your project needs. 2. Drywall Screws Typically, 1-1/4 inch or 1-5/8 inch screws are ideal for 1/2 inch drywall. 3. Drill or Screwgun A power drill or a dedicated screwgun is essential for driving screws efficiently. 4. Tape Measure For accurate measurement of your walls and drywall. 5. Utility Knife For cutting drywall sheets to fit your project. 6. Drywall T-square For making sure your cuts are straight. 7. Stud Finder To locate wall studs accurately. 8. Safety Gear Safety goggles and a dust mask for protection during installation.
Preparation Steps
1. Measure and Cut Drywall Start by measuring the area where you will be installing the drywall. Use a utility knife to score and snap the drywall sheets to the desired sizes. Always make sure to cut slightly smaller than the measurement to allow for fitting.
2. Locate the Studs Use a stud finder to efficiently locate the vertical studs inside the wall. Mark these locations lightly with a pencil; you can usually find studs spaced 16 inches apart in standard construction.
Installing the Drywall
screw drywall to stud

1. Position the Drywall Hold the drywall sheet vertically against the wall, ensuring it aligns with the studs. If you're working with a ceiling or large area, it might be helpful to have a helper or use drywall lifts.
2. Screw the Drywall to the Studs Start by inserting screws into the stud, placing them about 12 to 16 inches apart along the edges of the drywall. Use a drill or screwgun to drive the screws in until the heads are just below the surface of the drywall without breaking the paper. For the interior of the sheet, place additional screws about every 12 inches.
3. Check for Integrity Once all screws are installed, run your hand over the surface to ensure that it feels flat and aligned with the surrounding drywall.
Finishing Touches
After you’ve secured the drywall
1. Tape and Mud the Joints Apply joint tape over the seams and use joint compound (commonly known as mud) to cover the screws and seams. Smooth it with a drywall knife for a seamless finish.
2. Sand and Prime Once dry, sand down the joint compound to create a smooth surface, and apply primer before painting.
Conclusion
Screwing drywall to studs is a straightforward but essential skill in construction projects, whether you're building a new wall or remodeling a space. By following these steps, using the right tools, and ensuring proper technique, you can achieve a well-finished wall that is both functional and visually appealing. Happy drywalling!
-
Top Choices for Plasterboard FixingNewsDec.26,2024
-
The Versatility of Specialty WashersNewsDec.26,2024
-
Secure Your ProjectsNewsDec.26,2024
-
Essential Screws for Chipboard Flooring ProjectsNewsDec.26,2024
-
Choosing the Right Drywall ScrewsNewsDec.26,2024
-
Black Phosphate Screws for Superior PerformanceNewsDec.26,2024
-
The Versatile Choice of Nylon Flat Washers for Your NeedsNewsDec.18,2024


