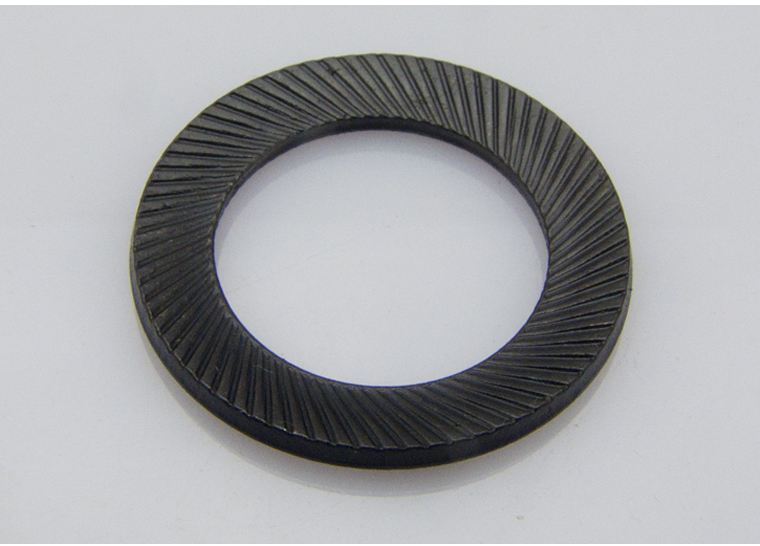
Unique Screw Design for Drywall Installation Efficiency and Stability
Custom Screw Pattern for Drywall A Comprehensive Guide
When it comes to drywall installation, achieving a seamless finish and ensuring structural integrity are paramount. One key aspect that often gets overlooked is the screw pattern used during the installation process. A custom screw pattern can greatly enhance the durability and appearance of your drywall, making it essential for both DIY enthusiasts and professional contractors to understand its importance.
Why a Custom Screw Pattern Matters
The primary purpose of screws in drywall installation is to secure the panels to the framing, preventing movement that can lead to cracks and other issues. A well-defined screw pattern not only ensures stability but also distributes the tension across the drywall sheet more evenly. This helps to minimize the risk of failure points where the drywall might sag or crack over time.
Furthermore, a custom screw pattern can be tailored to the specific requirements of the project at hand. Factors such as the type of drywall being used (standard, moisture-resistant, or fire-rated) and the environment (walls vs. ceilings) can influence the ideal screw positioning.
Standard Screw Patterns
Typically, the standard screw pattern involves placing screws at regular intervals—usually every 16 inches on center along the studs in wall installations and 12 inches on center for ceilings
. However, this pattern may not always be suitable, particularly in high-traffic areas or where additional strength is required.Creating a Custom Screw Pattern
custom screw pattern for drywall

1. Assess the Project Requirements Begin by evaluating the specific characteristics of your environment and materials. For instance, in areas prone to moisture, like bathrooms, increasing the number of screws or using a moisture-resistant drywall might be necessary.
2. Adjust for Wall vs. Ceiling Applications For ceilings, it's advisable to place screws closer together, often every 12 inches or less, to prevent sagging. Walls can typically follow the 16-inch rule but can be adjusted based on the weight of the drywall or additional layers being used.
3. Outline Critical Areas Pay special attention to corners, joints, and edges. These areas are more susceptible to cracking and can benefit from a denser screw pattern—placing screws around 8 inches apart in these zones can enhance stability.
4. Consider the Type of Finish If a smooth finish is desired for paint or texture, a custom pattern that minimizes joint visibility may be beneficial. Properly spacing screws helps in achieving a seamless look, as the less frequent interruption in the surface makes it easier to tape and mud over the seams.
5. Mark Your Pattern Before installation, use a pencil to lightly mark your custom screw pattern on the drywall. This helps ensure that you maintain consistency and accuracy throughout the installation process.
Conclusion
Utilizing a custom screw pattern in drywall installation can significantly enhance the performance and appearance of the finished project. By carefully considering the requirements of your specific application, you can ensure that your drywall is not only securely fastened but also aesthetically pleasing. A little extra consideration during the planning stage can pay off in the long run, providing a sturdy and beautiful finish that stands the test of time. Whether you’re tackling a DIY project or working as a professional, understanding and implementing a custom screw pattern is a step towards excellence in drywall installation.
-
Top Choices for Plasterboard FixingNewsDec.26,2024
-
The Versatility of Specialty WashersNewsDec.26,2024
-
Secure Your ProjectsNewsDec.26,2024
-
Essential Screws for Chipboard Flooring ProjectsNewsDec.26,2024
-
Choosing the Right Drywall ScrewsNewsDec.26,2024
-
Black Phosphate Screws for Superior PerformanceNewsDec.26,2024
-
The Versatile Choice of Nylon Flat Washers for Your NeedsNewsDec.18,2024


